Turkey Body and Feathers Template (Free Printable) gives you four easy ways to make a paper turkey for Thanksgiving, a fall classroom project, or a cozy afternoon at home. Each page is a black-and-white, US Letter craft sheet with room to color before cutting. Choose separate parts for a hands-on assembly activity, patterned feathers for extra coloring, a ready-made turkey to decorate, or broad shapes to trace onto construction paper.
Turkey Body and Feathers Template (Free Printable)
Choose the right turkey craft page
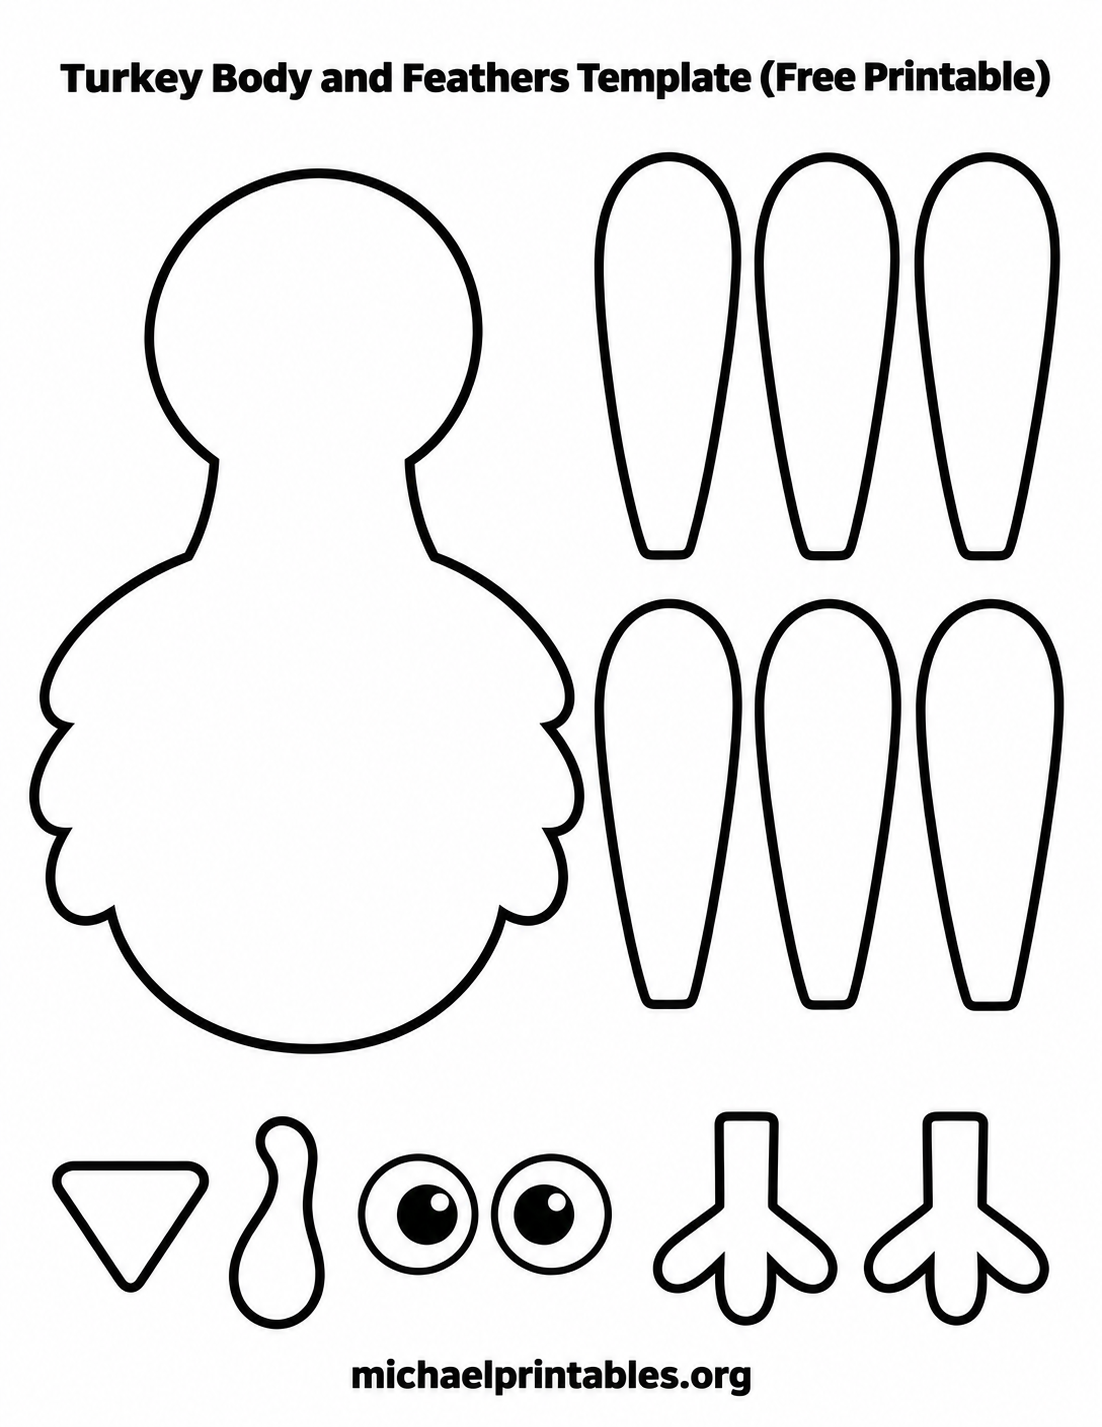
The classic cutout sheet keeps the main body large and plain. Its six separate long feathers can be colored one at a time and attached behind the body. Small eyes, a beak, a wattle, and two feet complete the face and base. This page works well when children want to build the whole bird from individual pieces. If you are working with younger kids, cut the tiny facial details ahead of time and let them arrange the larger parts.
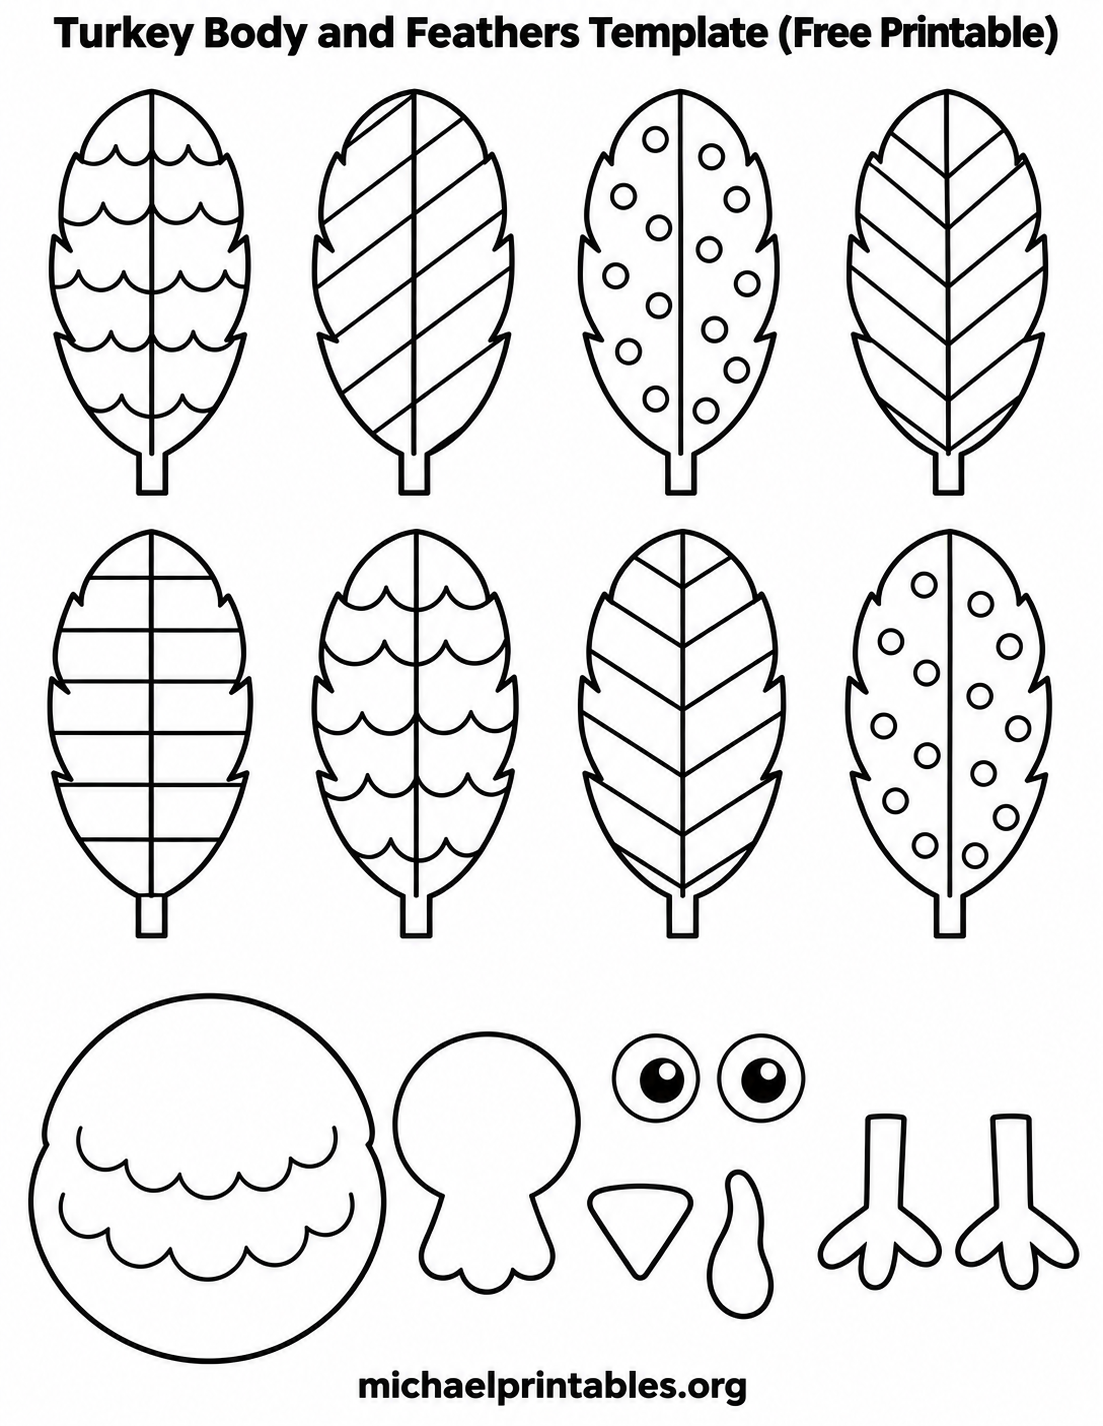
The patterned page offers eight feather outlines in two rows. The lines, dots, scallops, and chevrons are already inside the feathers, so children can practice choosing a color sequence without drawing every detail first. A round body, a smaller head, and the facial and foot pieces sit below. This is a good choice for a longer coloring session or for a group display in which every turkey can have a different color combination.
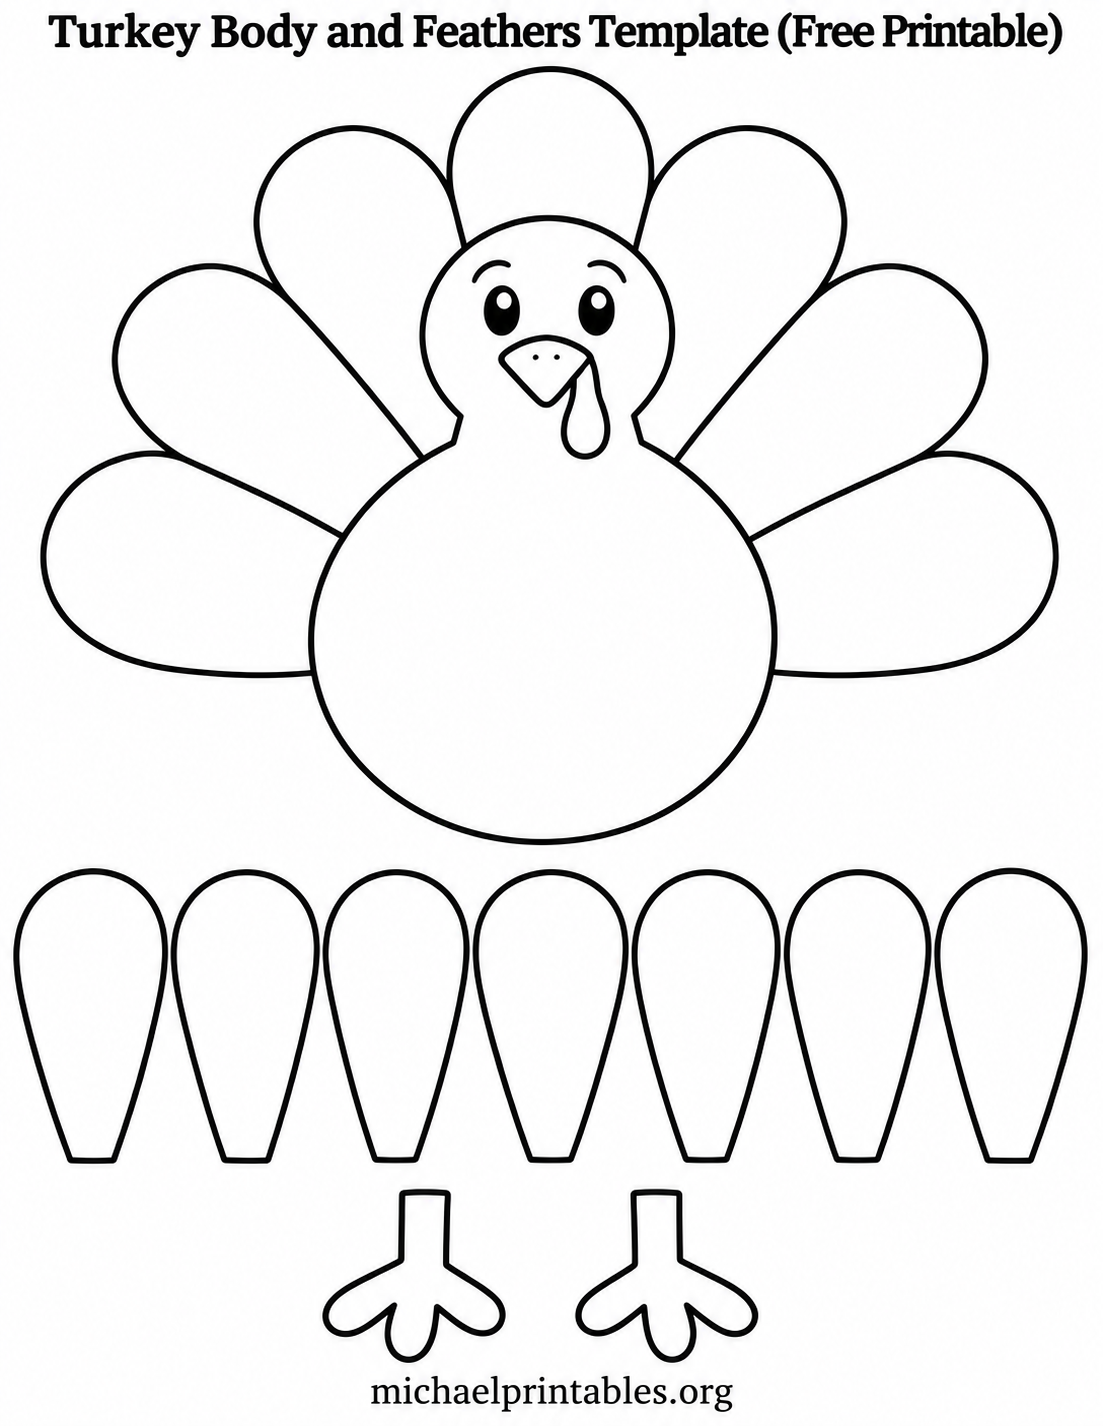
The ready-to-decorate page has a friendly turkey and a broad seven-feather fan already drawn together. Seven smaller blank feathers and two feet appear beneath it. Color the large bird as a complete picture, or cut the small feathers and layer them over the fan for a raised, textured effect. This design is useful when you want a finished coloring page even if there is no time for careful assembly.
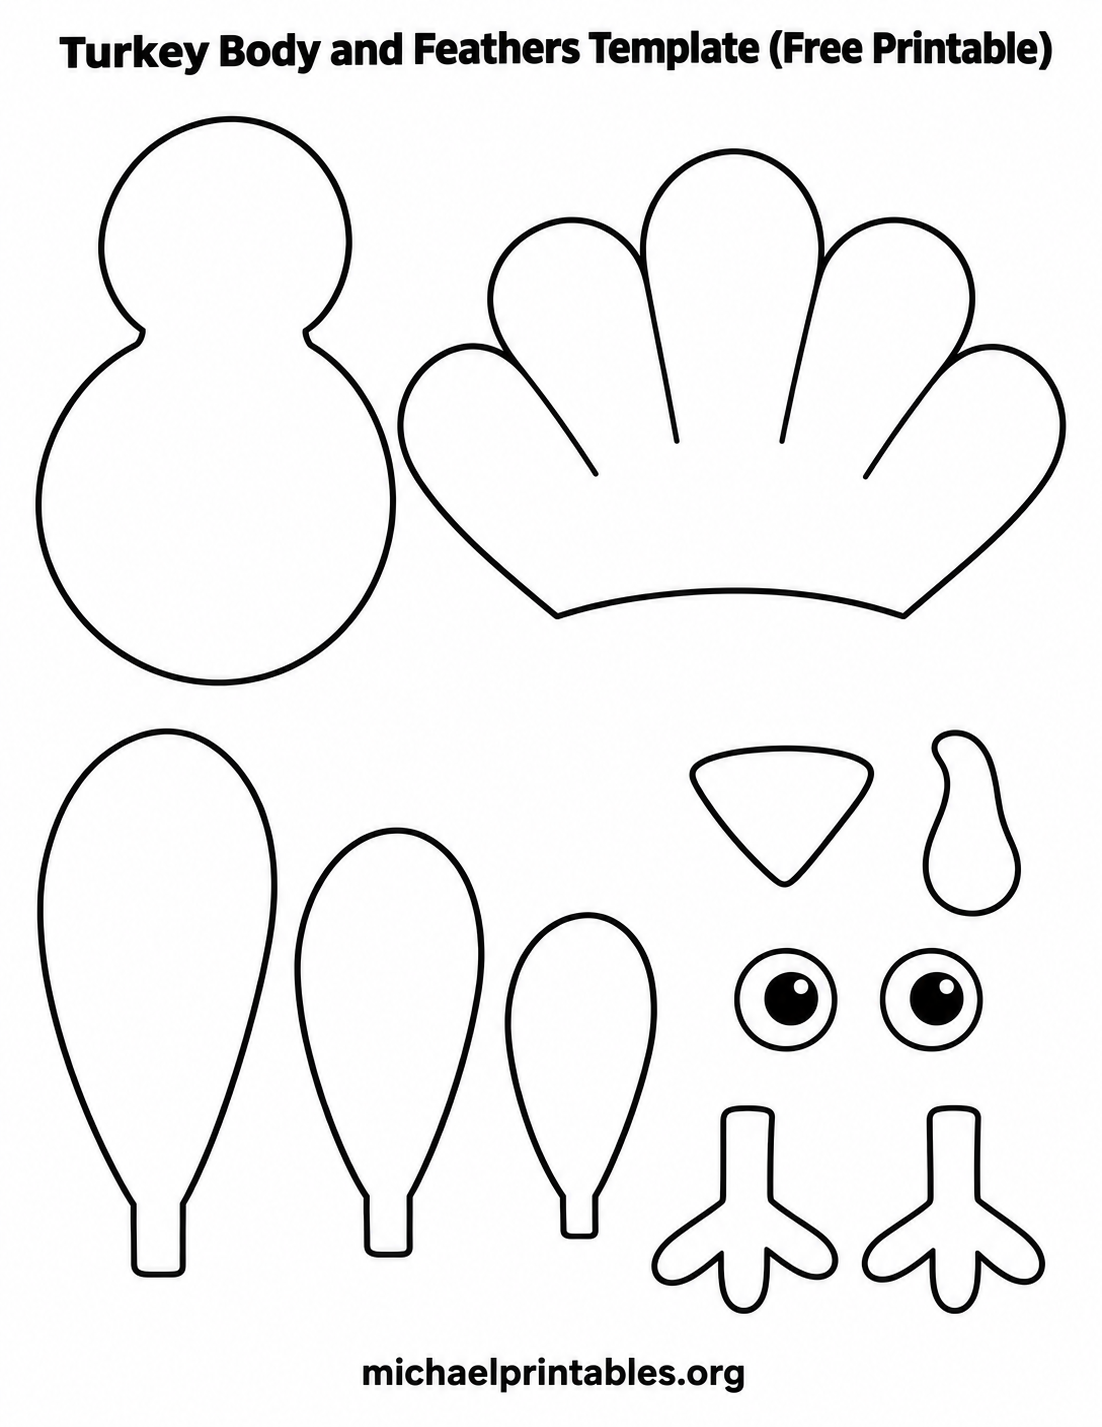
The tracing sheet has the simplest outlines: a large head-and-body silhouette, a separate five-lobed tail fan, three feathers in graduated sizes, and small face and foot details. Cut out a shape once, then trace around it on brown, red, orange, or yellow construction paper. The tail can be one paper shape behind the body, while the loose feather templates let you add extra layers or build a larger display on another sheet.
How to print and assemble the turkey body and feathers template?
Open the download link beneath the page you want and save the original WebP. Print it on US Letter paper at actual size or 100% scale. Check that your print dialog is set to portrait orientation and that “fit to page” is off if you want the shapes to stay at their designed size. A standard home printer and ordinary copy paper are enough for coloring and a flat collage. Use cardstock if you want pieces that are easier to handle, trace, or display.
Gather crayons or colored pencils, child-safe scissors, a glue stick, and a blank sheet for the finished turkey. Color first so the smaller pieces are easier to hold. Cut around the outer outline of each piece, then lay everything on your work surface before using glue. Put the feather bottoms behind the body, spread the tips into a fan, and glue the body over their lower ends. Add the face and feet last. The pieces can also be taped if you want to move them around before committing to a layout.
For a quick craft with the third page, color the complete turkey without cutting it out. If you want the layered version, cut the seven loose feathers and attach them over the fan, leaving some of each larger feather visible. A small curl of paper behind a loose feather can add dimension, but flat glue works best if the finished sheet will go into a folder or be mailed to a relative.
Easy variations for Thanksgiving and fall
Turn the feathers into a gratitude activity by writing one thing you appreciate on each blank feather before gluing. The classic and tracing sheets leave especially generous writing space. For a preschool group, offer a few pre-cut feathers and let each child choose where they go. Older children can repeat the patterns from the second sheet, invent new patterns, or compare how the tail looks when the feathers alternate warm and cool colors.
You can also make a classroom flock. Give each child one printout and a piece of colored background paper, then display the assembled birds together. To keep the activity manageable, put scissors, glue, and coloring supplies at separate stations. Label the back of each finished project with the child’s name rather than writing across the printable title or cut lines.
If you want another printable assembly example, Crayola has a Build Your Own Turkey coloring page. PBS KIDS also offers a direct turkey finger puppet template PDF for a different kind of turkey project. For a conversation prompt to pair with the feathers, try the PBS KIDS thankful turkey activity. Those are separate resources; the four downloads above are the templates shown on this page.