Printable Preschool Turkey Templates (Free PDF) make it easy to set up a Thanksgiving art table, a fall classroom center, or a quiet activity before dinner. These four original, US Letter shaped sheets give little hands several ways to color, trace, cut, and build. Choose the page that suits your child’s skills, then download the full-size image beneath it. The downloads are lossless WebP images; you can print them directly or use your browser’s Print dialog to save a PDF copy.
Printable Preschool Turkey Templates (Free PDF)
Pick the right turkey activity
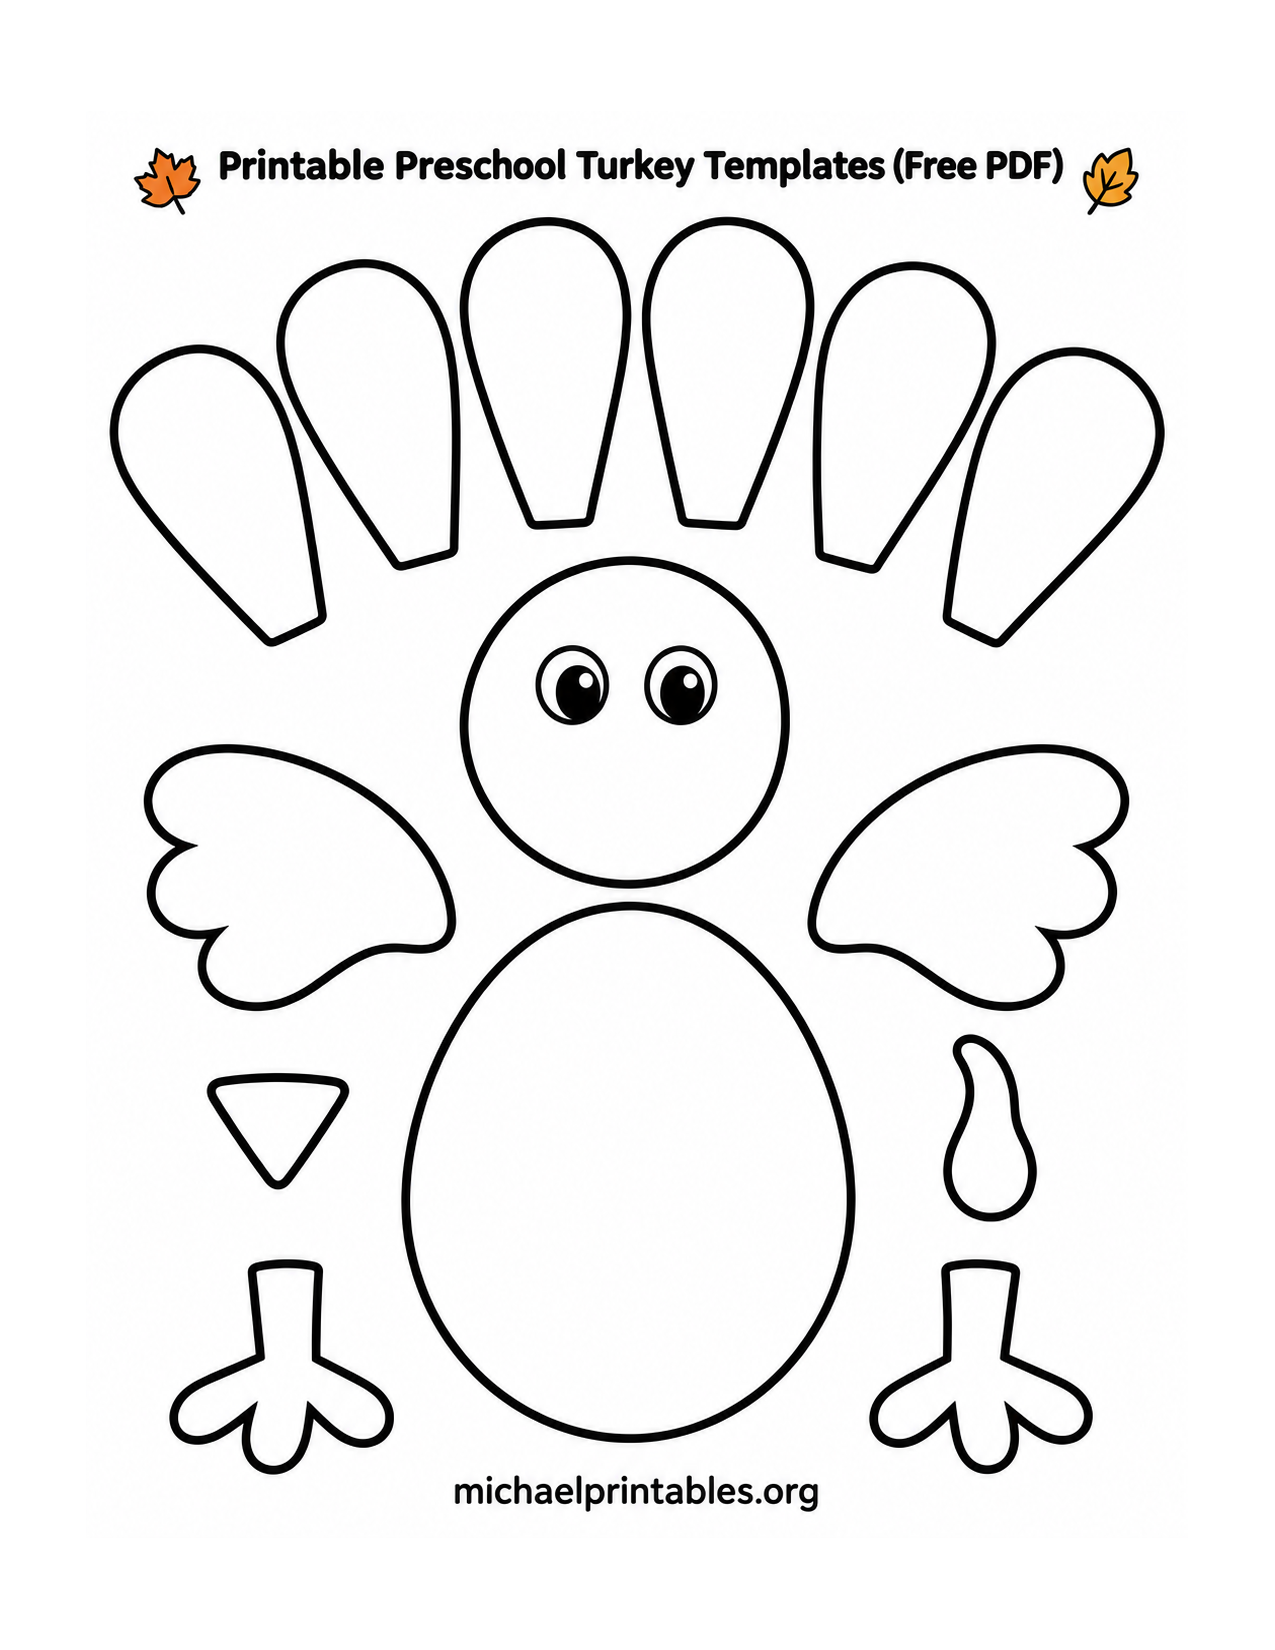
Cut and assemble: The first sheet has a separate oval body, round face, six broad feathers, two wings, feet, beak, and wattle. Children can color the pieces while they are still on the page. An adult can cut the small beak and wattle, while a preschooler practices the easier body and feather curves with child-safe scissors. Arrange the feathers behind the body, glue the head above it, and finish with the face and feet. A piece of construction paper makes a sturdy background and leaves room for a child’s name.
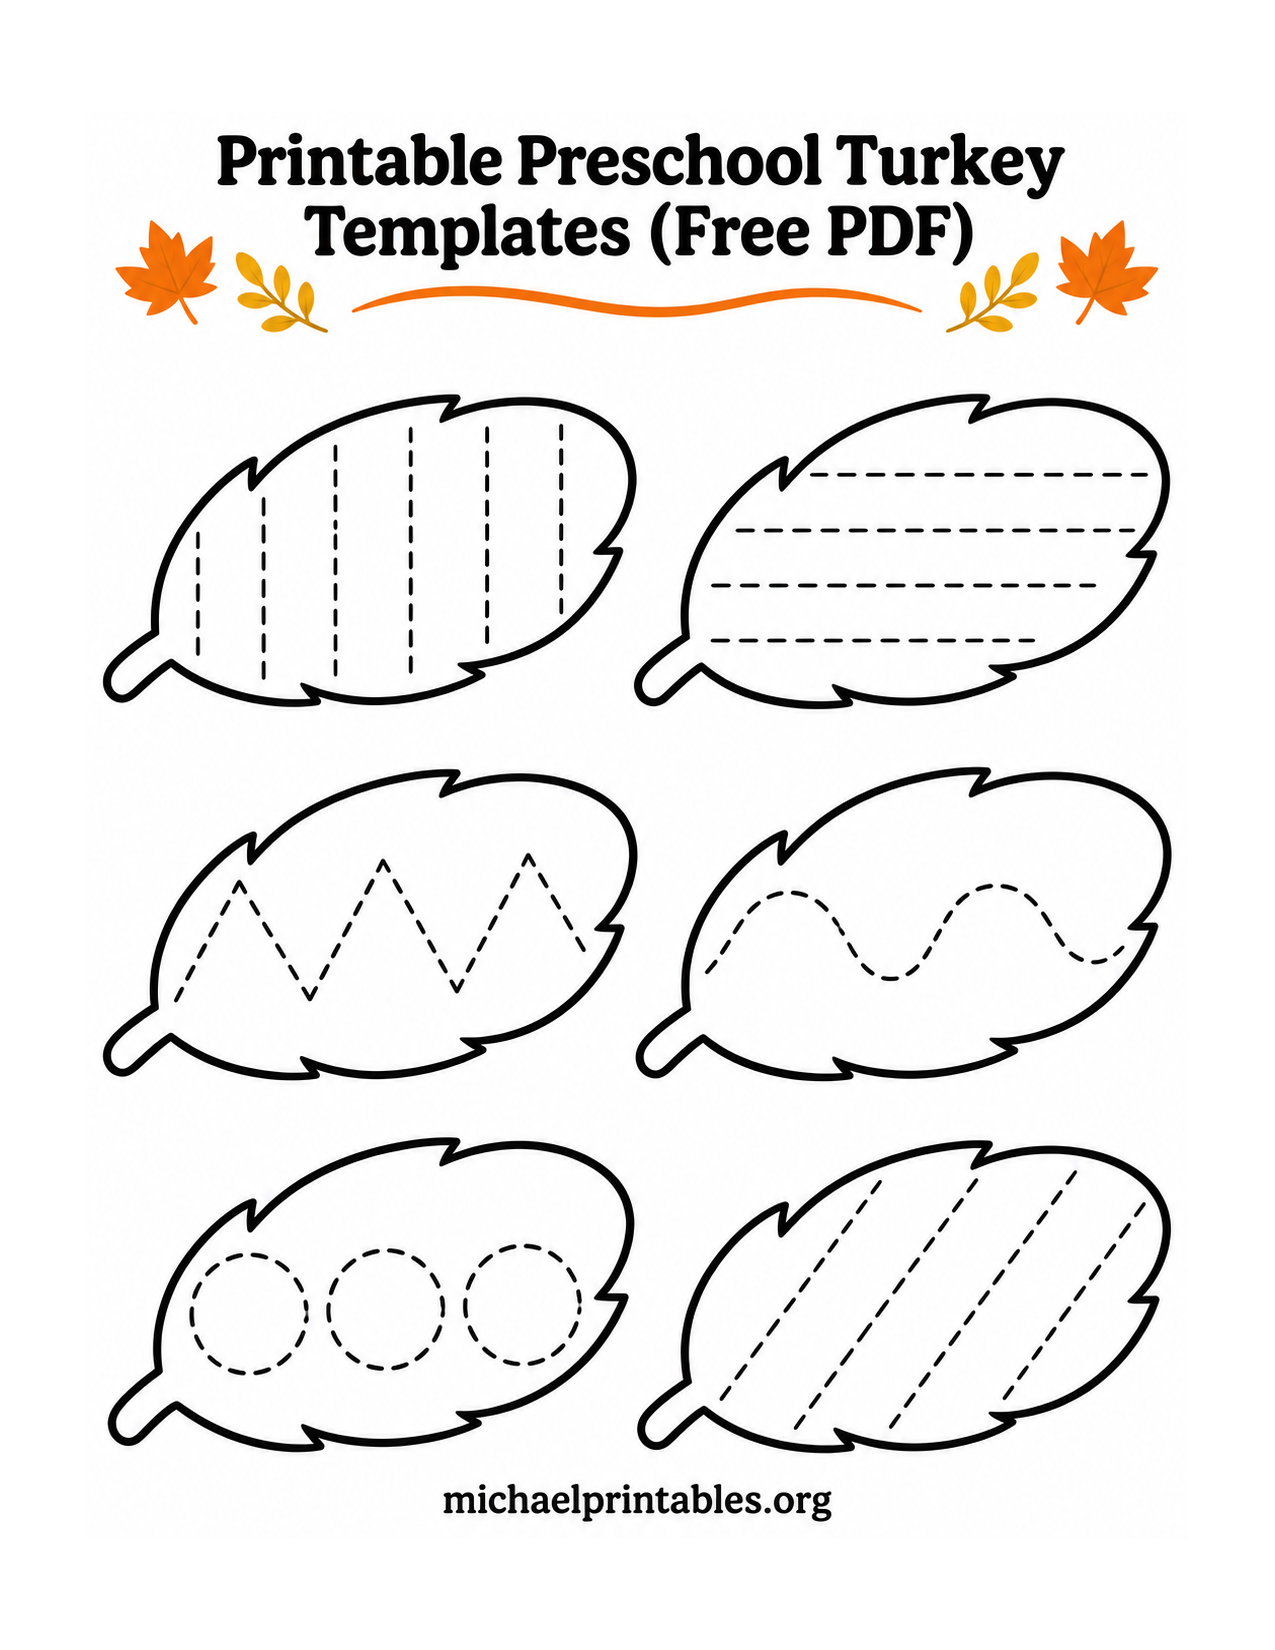
Trace the feathers: The second sheet contains six large feather shapes in a tidy two-column layout. Dashed paths offer vertical and horizontal lines, zigzags, a wave, circles, and diagonal strokes. Start with a finger, then follow the marks with a thick crayon or washable marker. Children can color each completed feather and cut them out for a bulletin board or glue them around a paper circle to invent a new turkey. The tracing patterns are intentionally roomy, so accuracy is less important than controlled movement.
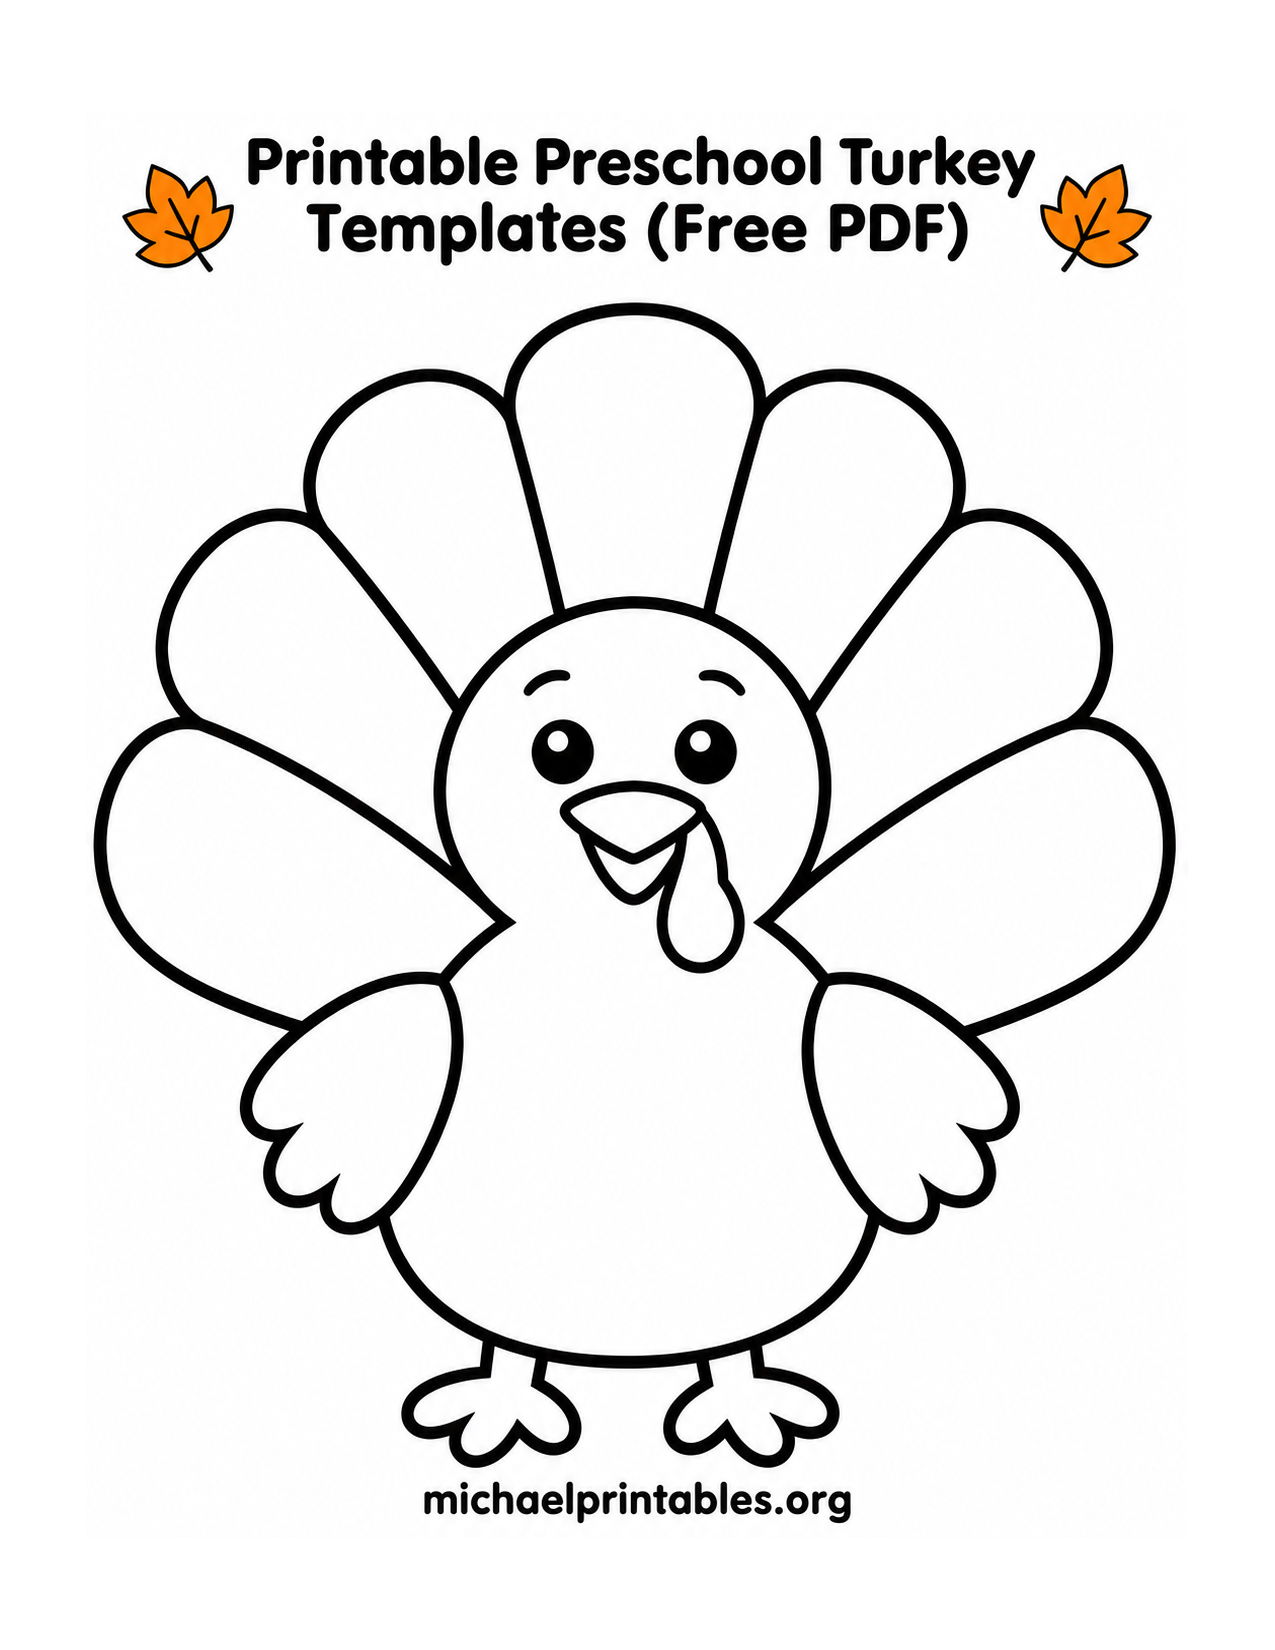
Color one big turkey: The third design is a single, friendly bird with a wide fan of seven blank tail feathers. It works as a straightforward coloring page for children who are not ready to cut many small pieces. Invite them to choose a different color or pattern for each feather. For a gratitude activity, ask what makes them happy or thankful; an adult can write one short answer in a feather if the child wants. The open belly is also a good place for a name or a drawing.
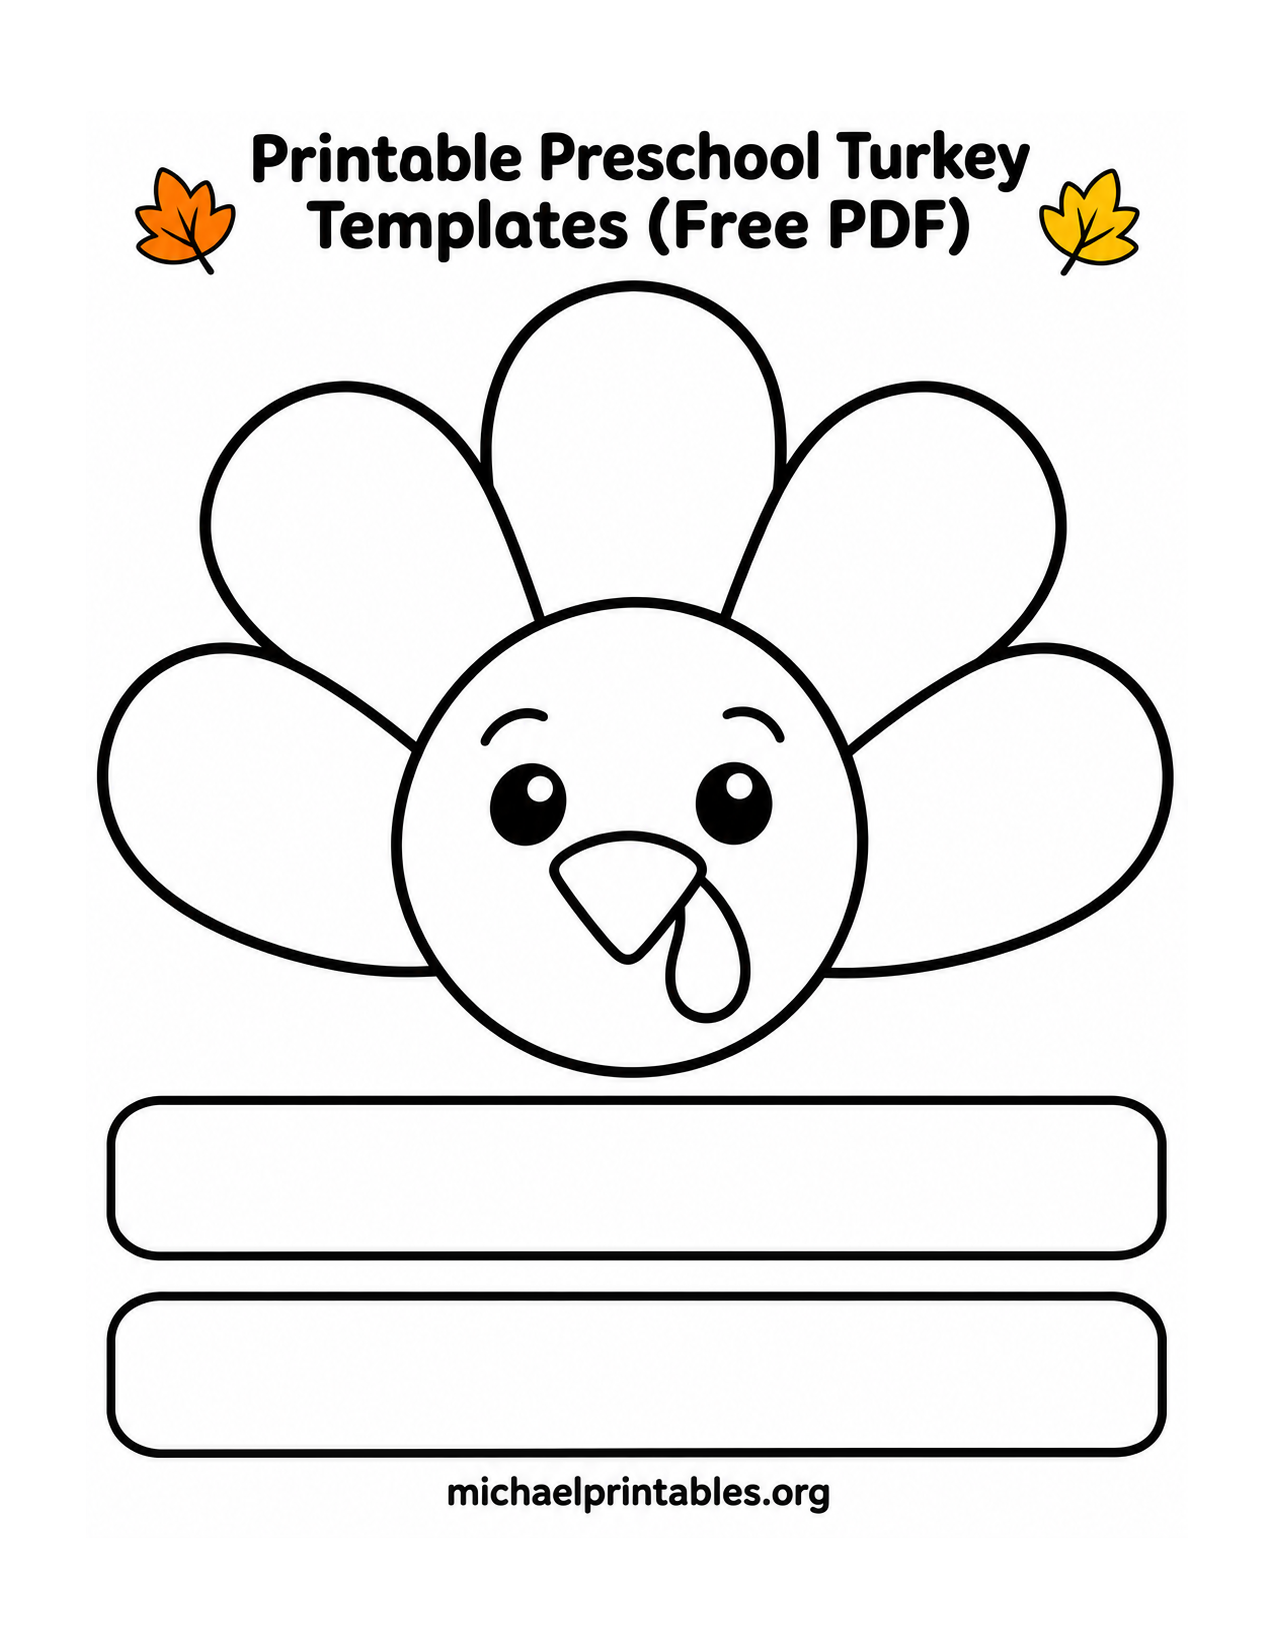
Make a wearable headband: The fourth sheet has one turkey face and feather topper plus two blank rounded strips. Color first, cut the topper and strips, then tape or glue the strips together behind the face. Wrap the band gently around the child’s head, adjust the overlap, and secure the last join. If the two strips do not reach comfortably, add a plain construction-paper extension. Keep the fit loose and use tape rather than staples near the child’s skin. This is an especially fun choice for a classroom parade or Thanksgiving playtime.
How to print these Printable Preschool Turkey Templates (Free PDF)?
Tap the download link directly under the sheet you want. Each link saves the original, full-resolution WebP, while the smaller gallery previews simply make the article quicker to view. The originals are 1275 × 1650 pixels and have US Letter proportions with added white space around the artwork. Open the downloaded image and select US Letter, portrait orientation, and a high-quality or best print setting. Choose “fit to page” or the equivalent so the title, shapes, and small website mark remain inside your printer’s printable area.
Print on regular white copy paper for coloring and tracing. For pieces that will be handled repeatedly, use light cardstock if your printer accepts it, or glue the finished sheet to construction paper before cutting. A black-and-white print is perfectly usable: the small autumn accents are optional, and the main shapes have clear dark outlines. Test one page before making a whole classroom set, because printer dialogs differ and some browsers add headers or footers by default. Turn those off if they cover any part of the craft.
If you specifically need a PDF for sharing with another adult or for a print queue, open the downloaded WebP and choose Print > Save as PDF (or Microsoft Print to PDF on some Windows computers). Check the preview for one portrait page, then save. This produces a PDF from the supplied original image; the four direct downloads on this page themselves are WebP files. Avoid printing the small on-page gallery image from a screenshot, since the download preserves the clearest lines.
Simple ways to use the pages with preschoolers
Set out crayons, glue sticks, child-safe scissors, and a tray for scraps. For a short 10-minute activity, use the big turkey coloring sheet or trace just one row of feathers. For a longer center, print the separate parts and let children decide whether their feathers go behind the body in a neat fan or an exuberant spread. Model one slow cut along a thick outline, then let the child try; adults can handle details that are frustrating or too small.
The sheets can support conversation as well as art. Count the six separate feathers on the assembly page, compare the six tracing designs, or name colors as they fill the seven sections on the big turkey. Ask children to describe a pattern they drew or tell a short story about where their turkey is going. These prompts keep the craft playful without requiring every bird to look alike. For a group display, place each finished turkey on a different colored backing sheet and add the child’s own dictated sentence.
Want another format to compare? Your Therapy Source offers a separate turkey craft PDF with directions for coloring, cutting, folding, and gluing its pieces. Crayola also has a build-your-own-turkey printable page for another color-and-assemble activity. Those are optional outside resources; the four designs above are ready to use on their own.
Questions parents and teachers often ask
Which page is easiest for a first cutting activity?
Try the wide body or feathers on the cut-and-assemble page. The large turkey coloring page is an even gentler starting point if the child wants to color first and let an adult do the cutting. Offer only one or two pieces at a time so a preschooler can focus on the curve in front of them.
Can I use these for a Thanksgiving classroom center?
Yes. Print one tracing sheet per child for individual work, then put a few copies of the cut-and-assemble parts at a shared table. The headband project benefits from an adult helper for fitting and taping. Keep names on the backs of the pieces before children begin to color so they do not get mixed up.
Do I need colored ink?
No. Most of each page is white with dark outlines. Children can supply the color with crayons, pencils, or markers. A grayscale printer will keep the shapes and tracing lines useful, and the extra white border helps protect the design on standard home printers.