How to Make Car Decals with Printable Vinyl – Searching for a How to Make Car Decals with Printable Vinyl? We’re providing it at no cost. You can obtain it in seconds and print it hassle-free, so you can dive in without delay. It’s our way of helping you out.
Are you looking to add a personal touch to your car? Custom car decals are a fun and creative way to show off your personality and style. With printable vinyl, you can easily create your own unique designs and make your vehicle stand out on the road. Whether you want to promote your business, support your favorite sports team, or just add some flair to your ride, making car decals with printable vinyl is a simple and rewarding DIY project.
Getting Started
To make car decals with printable vinyl, you will need a few key supplies. First, you’ll need a desktop printer that is compatible with printable vinyl. You can find printable vinyl sheets at most craft stores or online. Make sure to choose a high-quality vinyl that is designed for use on vehicles to ensure durability and longevity. You will also need a cutting machine, such as a Cricut or Silhouette, to precisely cut out your designs. Finally, you will need transfer tape to apply the decal to your car once it is printed and cut.
Before you begin, it’s important to design your decal using graphic design software or an online design tool. Get creative and come up with a design that reflects your personality or message. Once you have your design ready, print it onto the printable vinyl sheets using your desktop printer. Be sure to follow the manufacturer’s instructions for printing on vinyl to ensure the best results. Once your design is printed, use your cutting machine to carefully cut out the decal along the edges of your design. Remove any excess vinyl to reveal your finished decal.
Applying Your Decal
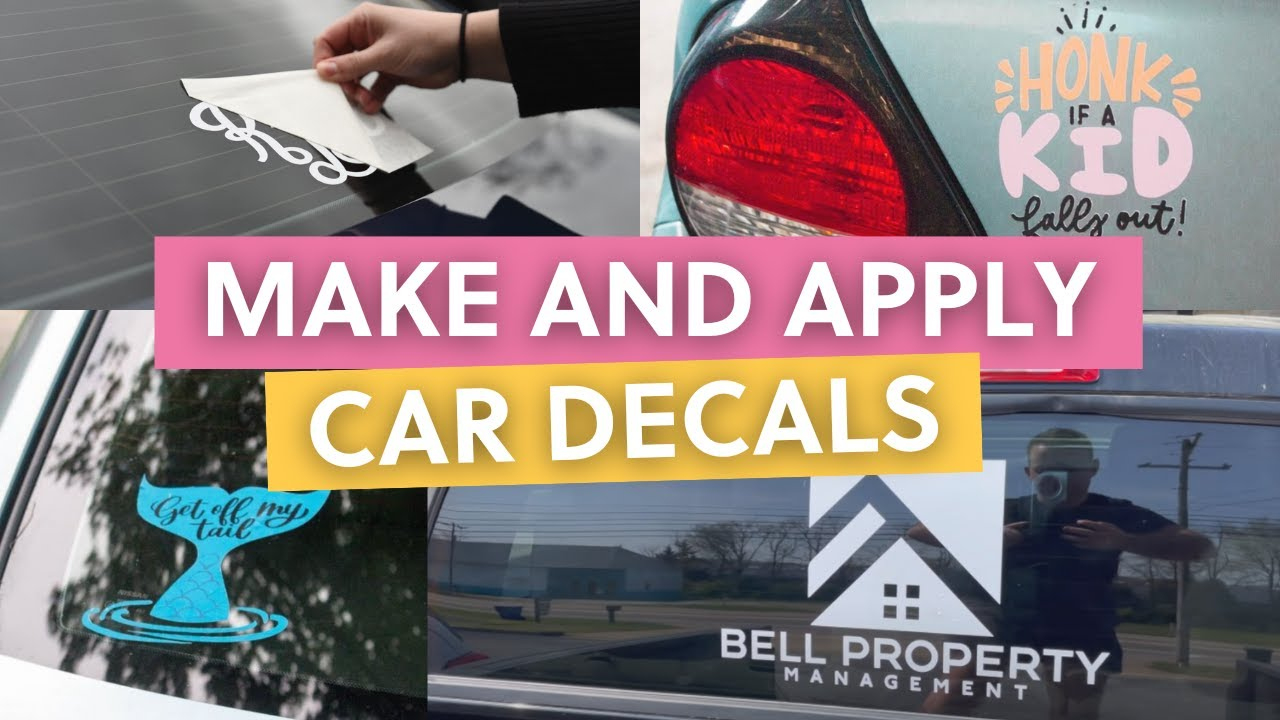
Now that your decal is printed and cut, it’s time to apply it to your car. Start by cleaning the surface of your car where you plan to place the decal. Use a mild soap and water solution to remove any dirt, grease, or debris. Once the surface is clean and dry, carefully peel the backing off the printable vinyl decal. Place the decal on the desired location on your car, using a squeegee or credit card to smooth out any air bubbles and ensure a secure adhesion.
After the decal is in place, use transfer tape to carefully lift the decal off the backing paper. Position the decal on your car and use the squeegee to firmly press it onto the surface. Slowly peel away the transfer tape, leaving the decal in place on your car. Smooth out any wrinkles or air bubbles with the squeegee, ensuring that the decal is securely attached. Once the decal is applied, allow it to set for at least 24 hours before exposing it to any moisture or extreme temperatures. Now you can hit the road and show off your custom car decal with pride!
How to Make Car Decals with Printable Vinyl
Related Printables..
Disclaimer: We make every effort to use royalty-free or appropriately licensed images. However, if an image is mistakenly used without proper permission, please inform us. We are committed to correcting errors and will remove infringing content upon verification.