Turkey Templates and Cutouts for Kindergarten make it easy to set up a fall art table, Thanksgiving center, or simple fine motor activity without drawing every piece by hand. These four printable pages give children different ways to color, trace, cut, arrange, and talk about their ideas. Choose one page for a short lesson or combine the pages for a longer turkey craft session.
Turkey Templates and Cutouts for Kindergarten
What Is Included in the Four Pages?
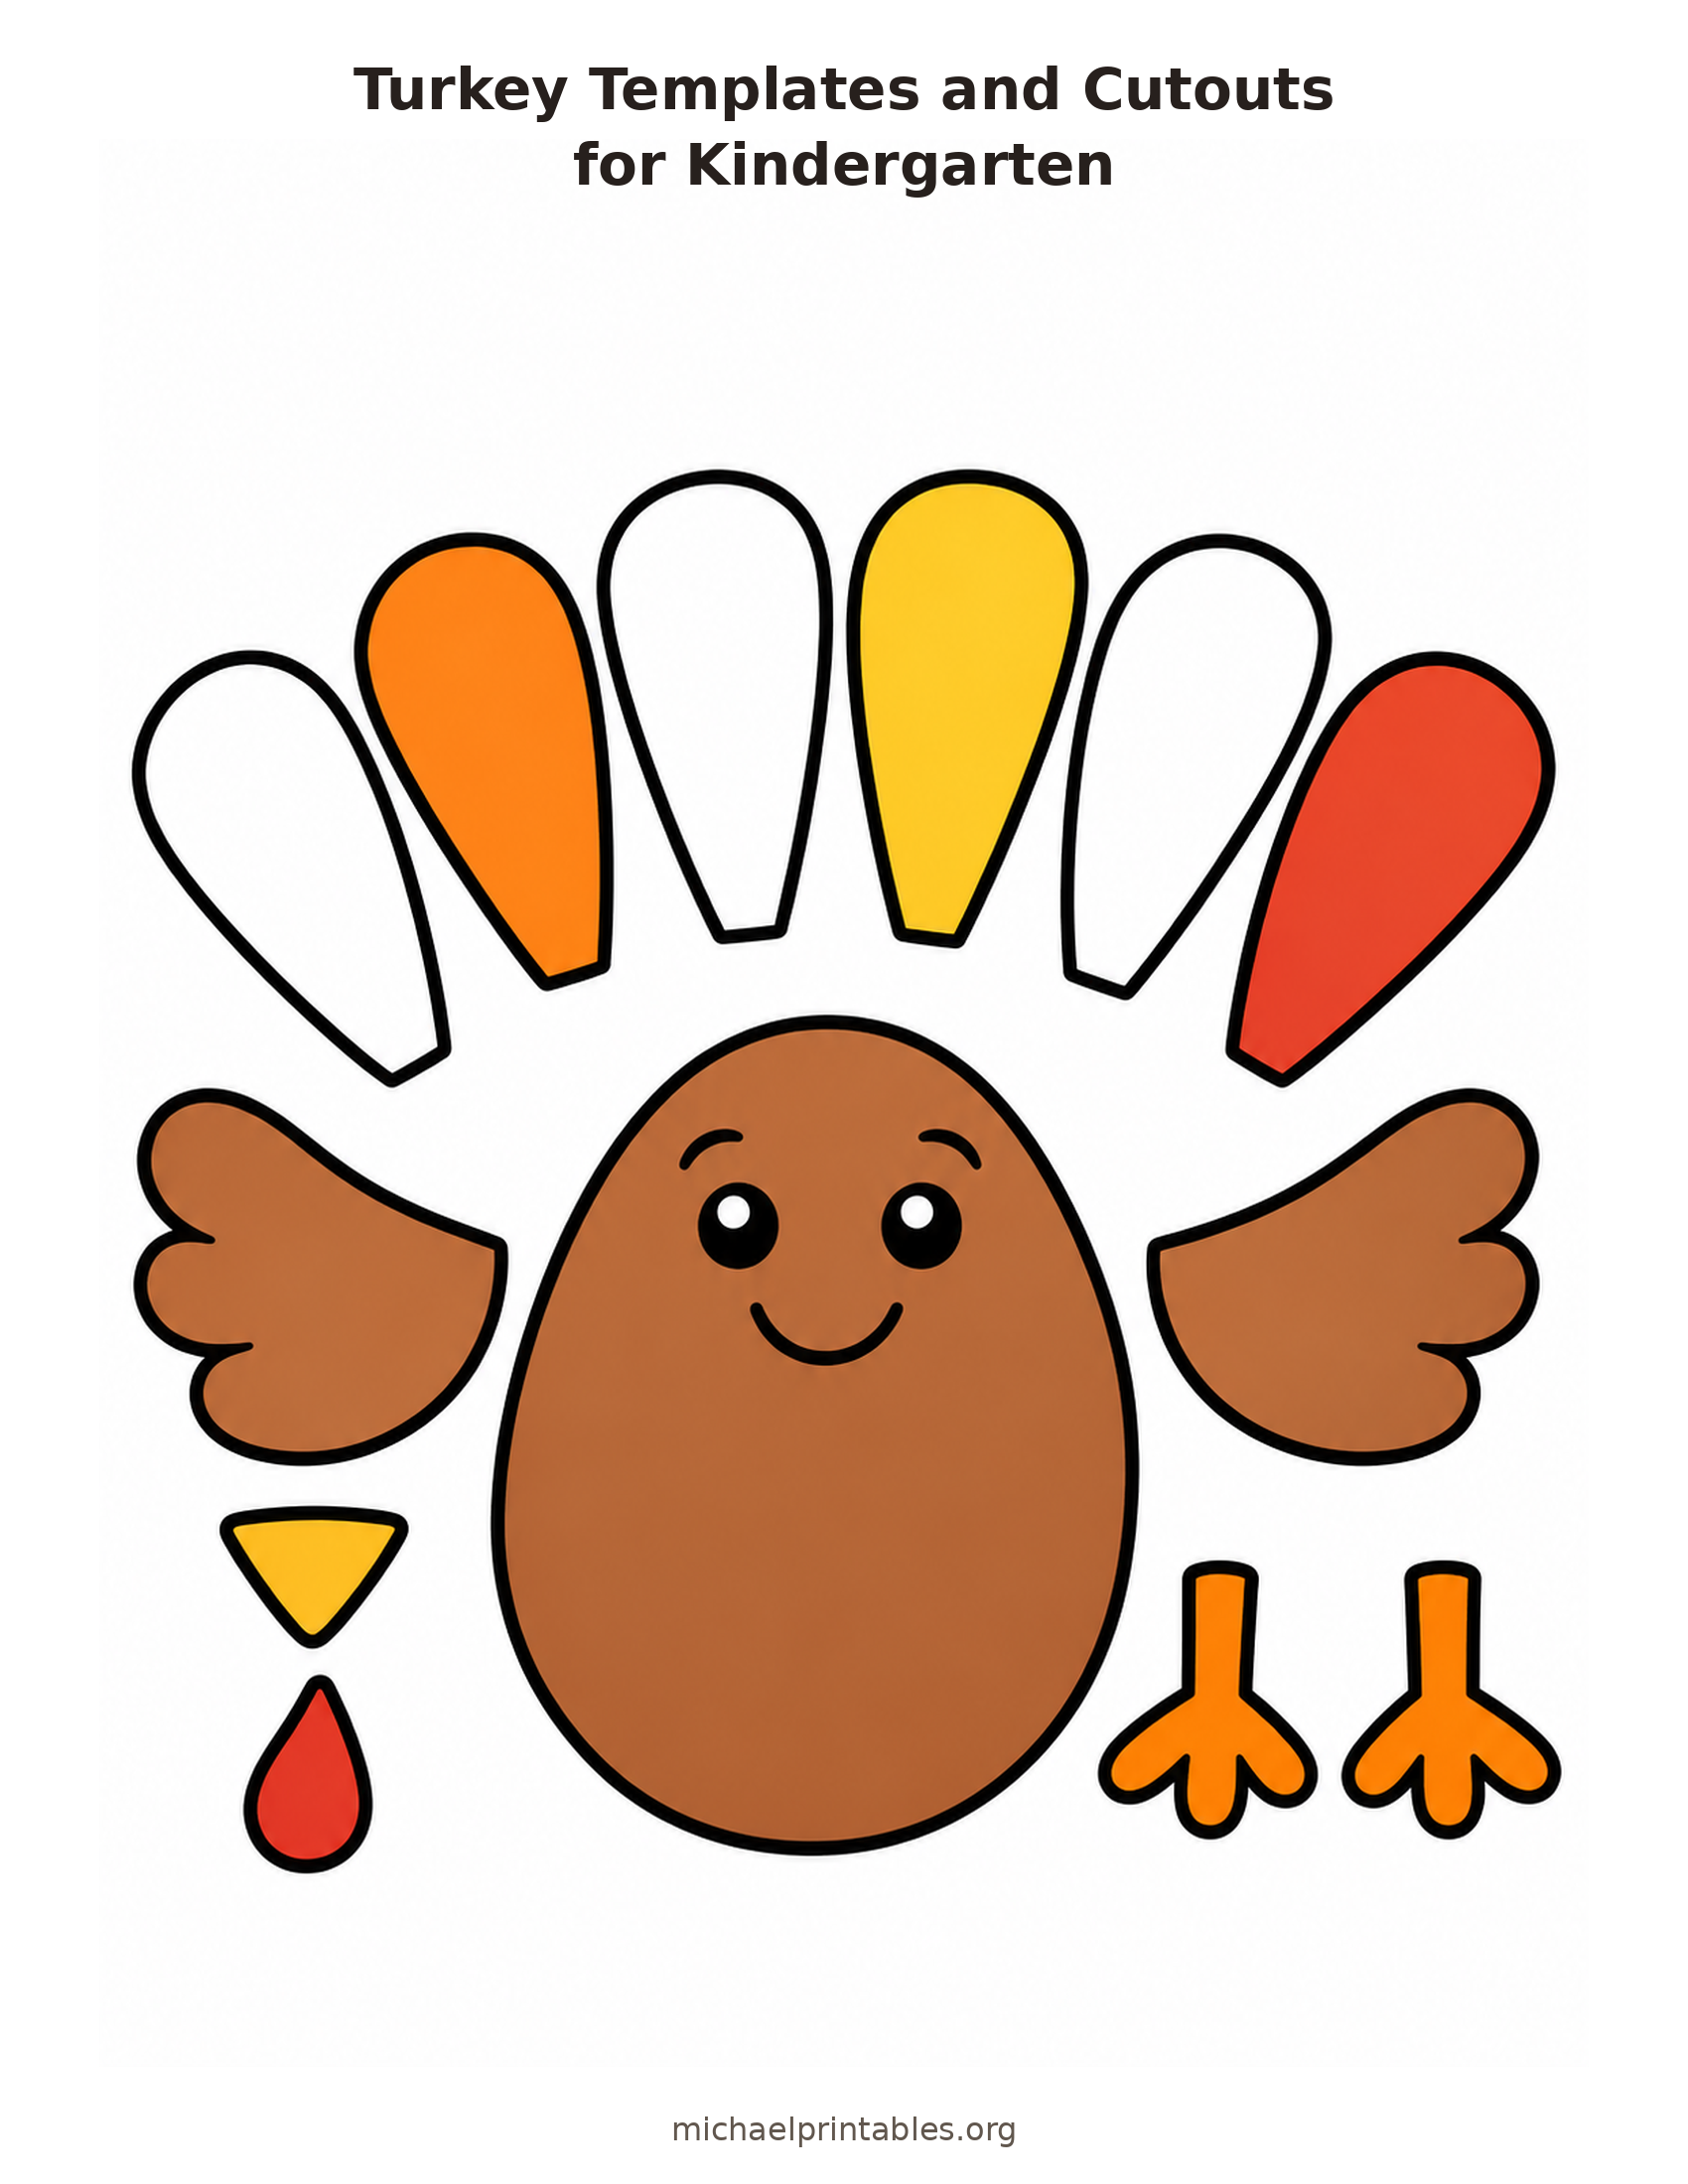
The cut-and-assemble page has a friendly brown turkey body, six broad tail feathers, two wings, two feet, a beak, and a red wattle. Some pieces already have warm color, while others stay white for children to decorate. Cut around the separate shapes, arrange the feathers behind the body, then attach the wings, face pieces, and feet. The body already has a simple face, so the separate beak and wattle can be placed over it after coloring.
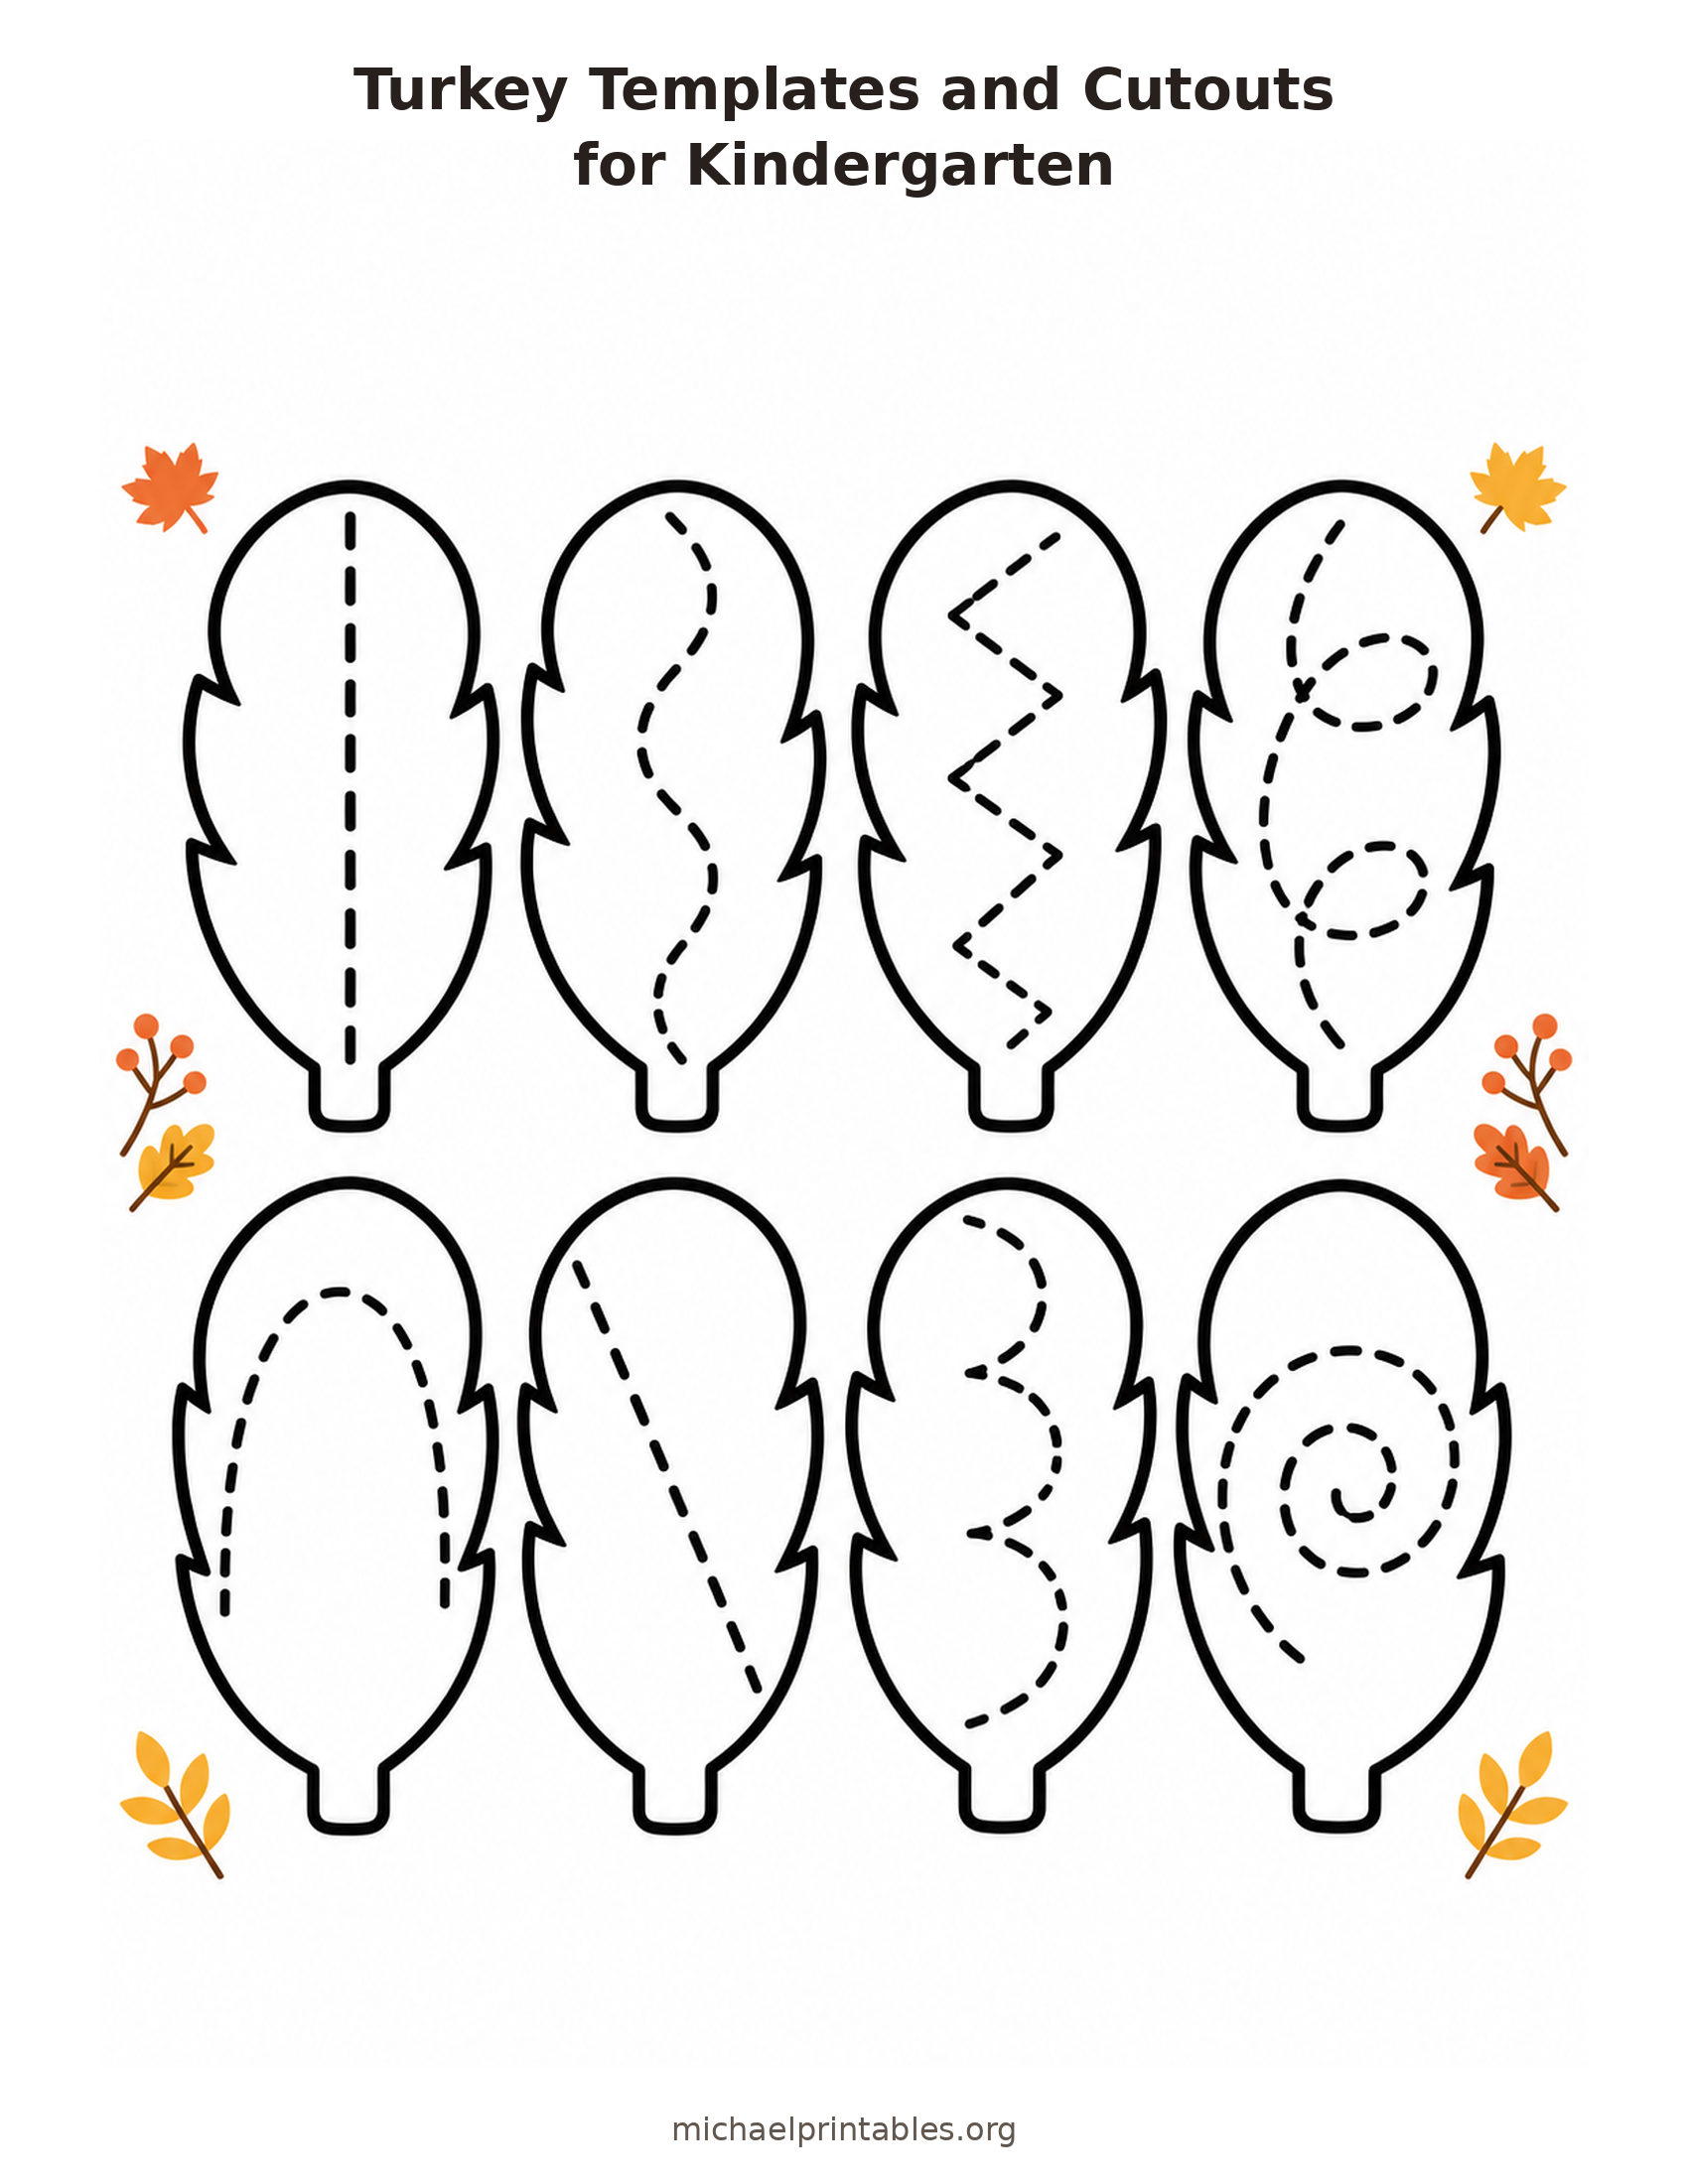
The feather tracing page has eight large feathers in two rows. Each one contains a different dashed route, including straight, curved, zigzag, arched, and spiral marks. Children can follow the inner path with a pencil or crayon before practicing their scissor control around the solid outer edge. The wide feather shapes also work for sorting by line type or making a paper feather fan.
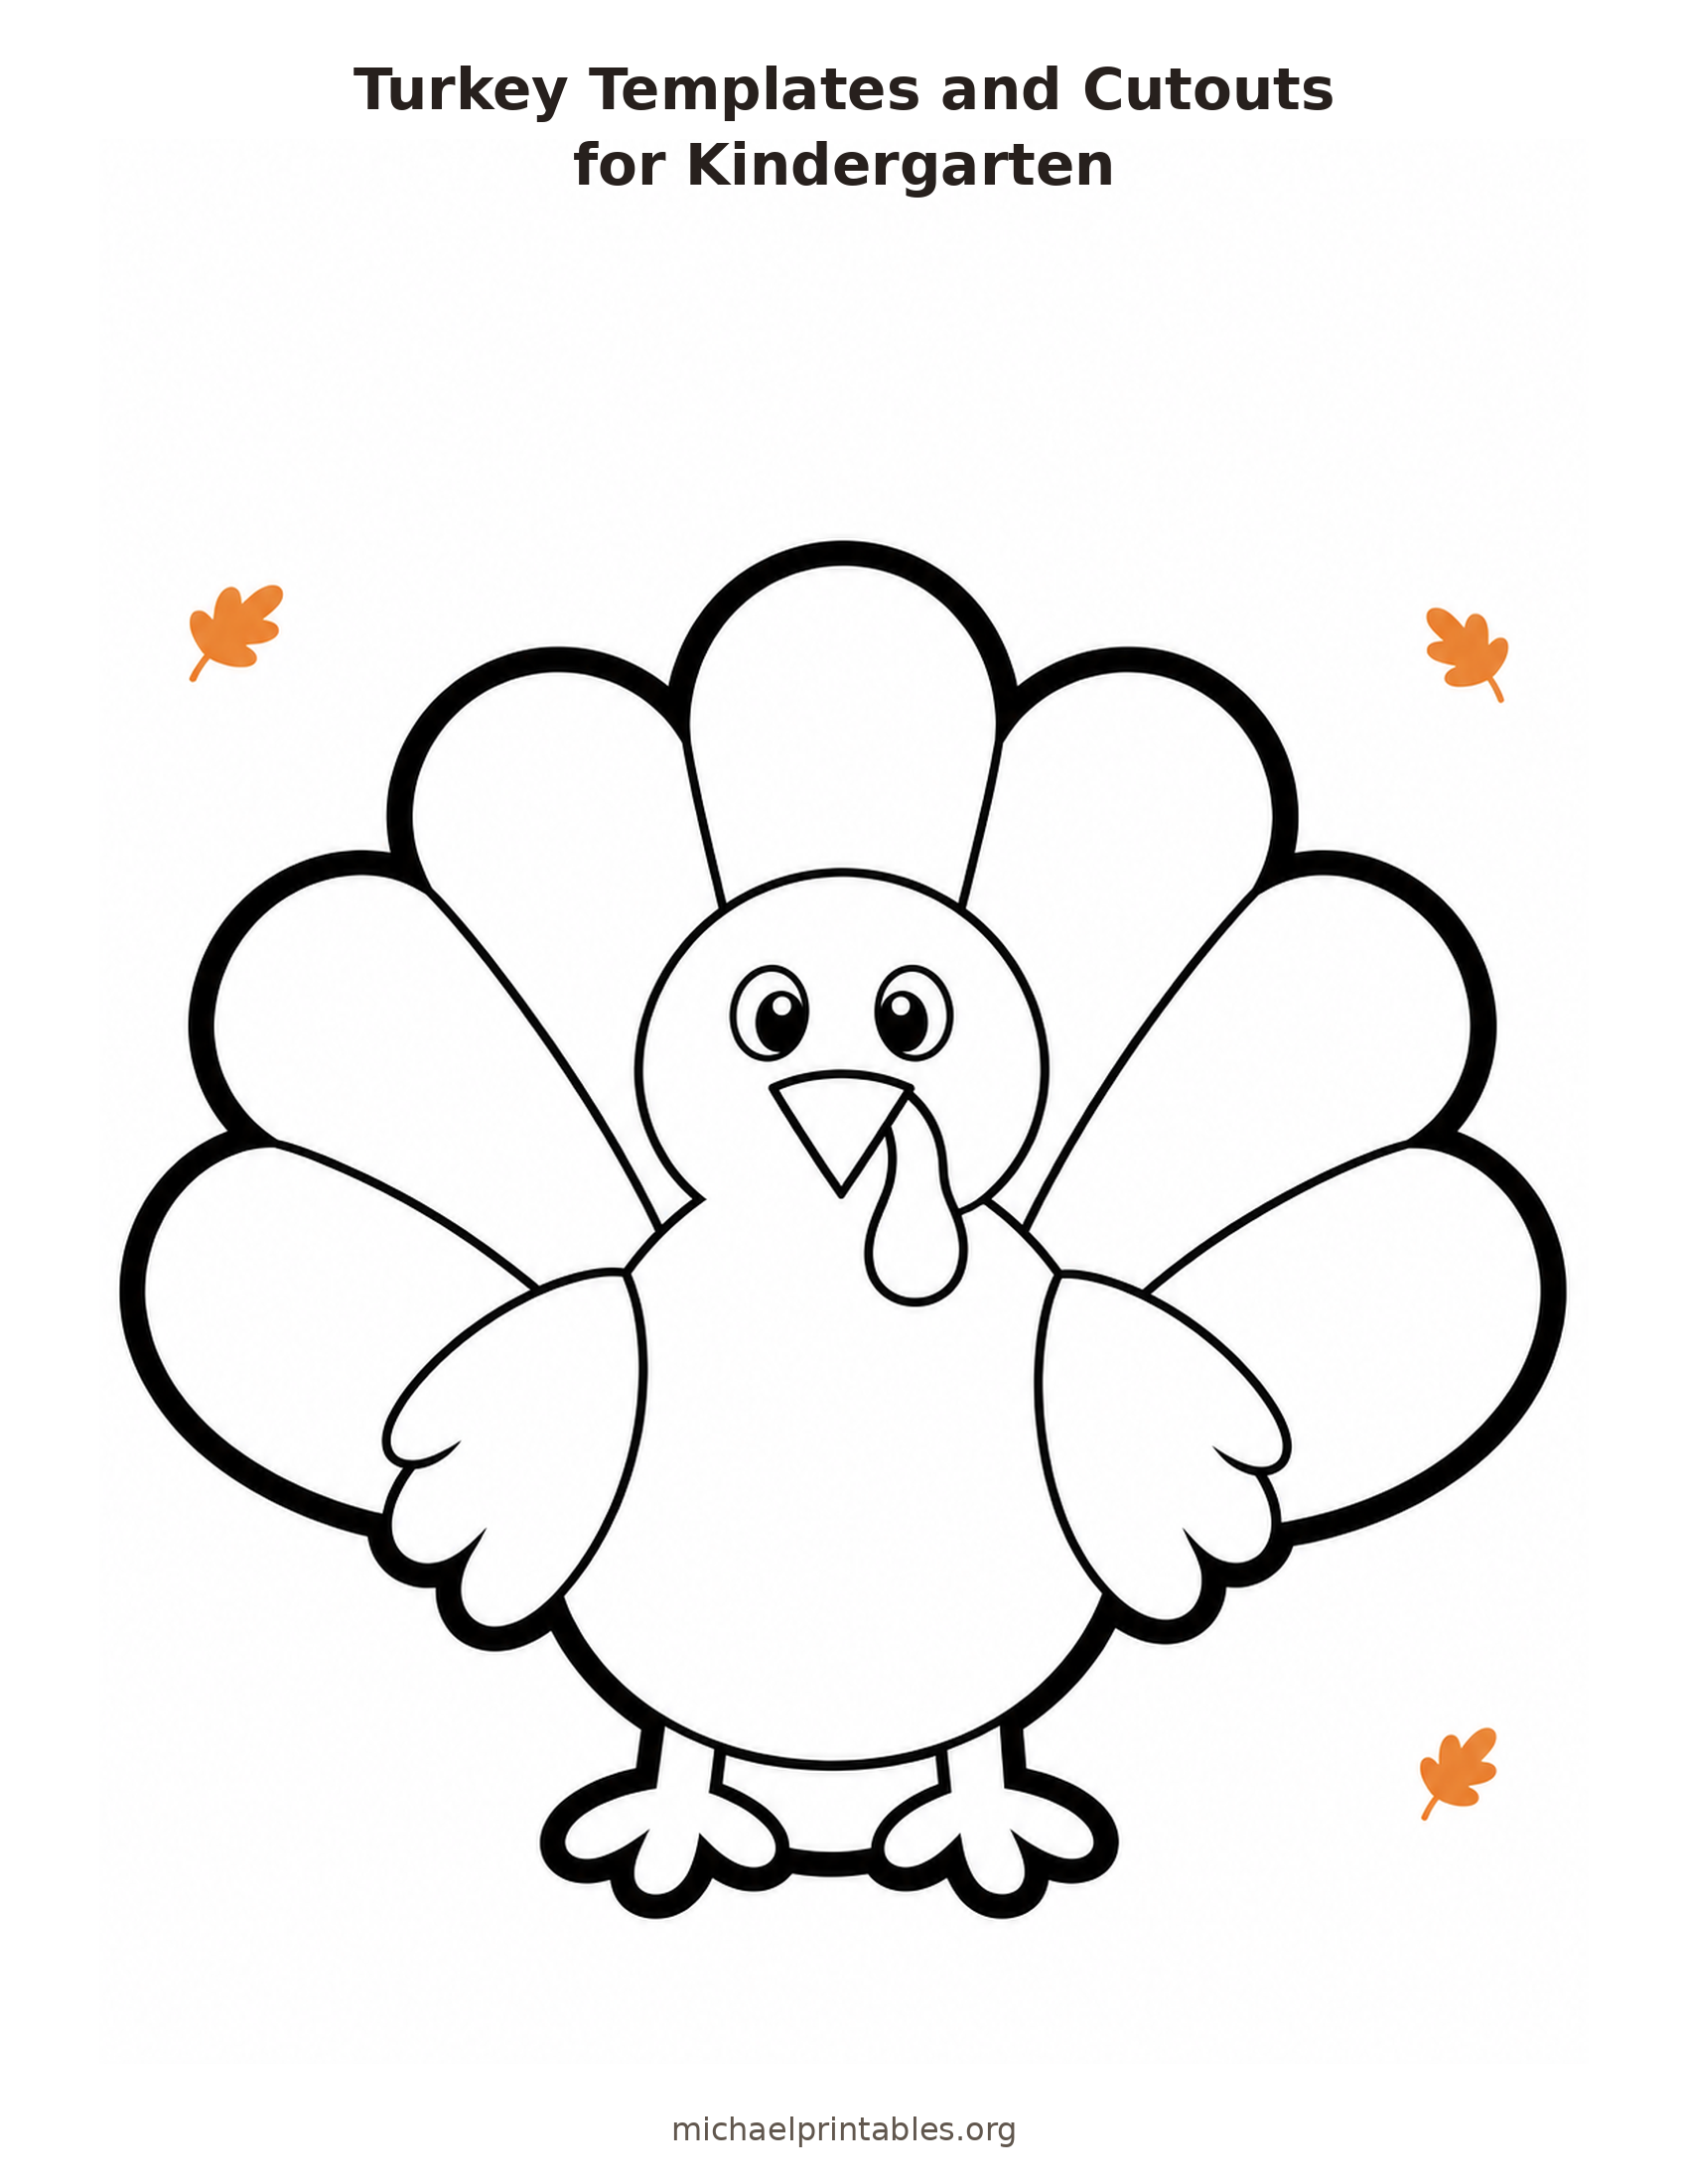
The whole-turkey stencil is a single large bird with a broad fan of seven blank feathers. It is the quickest choice when you need a coloring page that can become a cutout afterward. Children can add stripes, dots, or fall colors inside each feather, then cut along the outside of the complete bird with help as needed. The large finished shape works well on a bulletin board or classroom window.
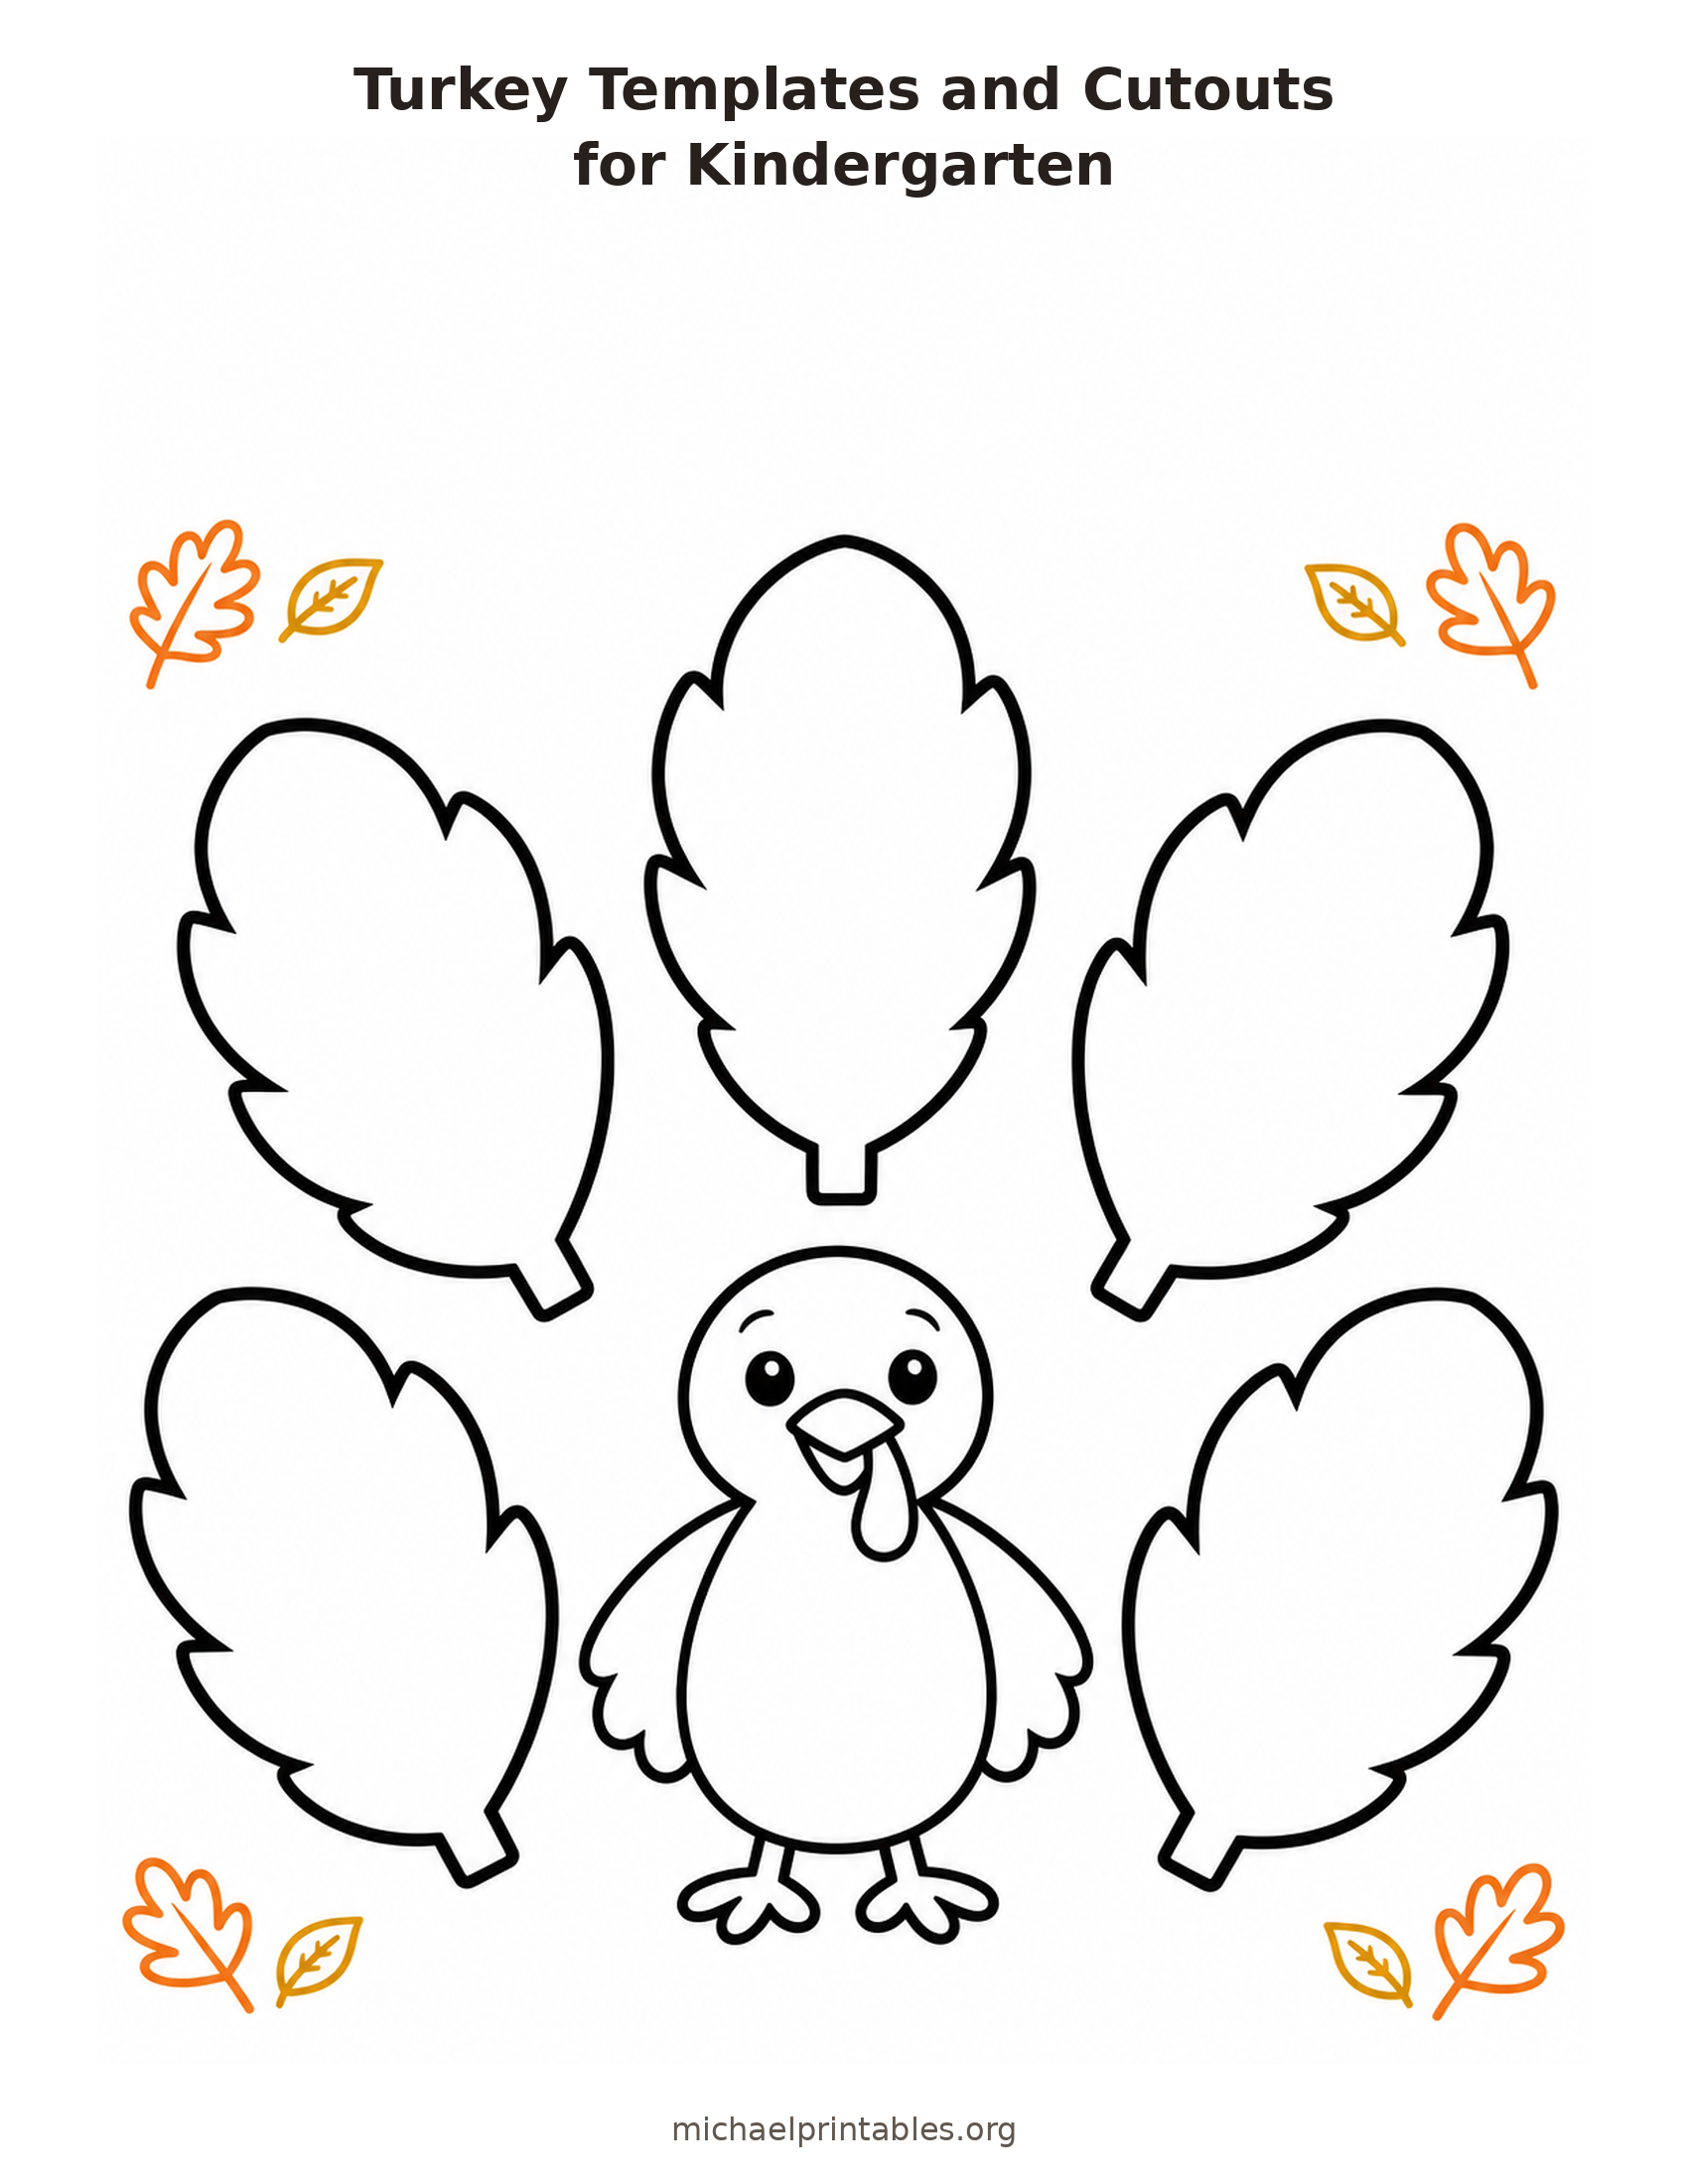
The thankful-feathers page places five roomy blank feathers around a smaller turkey. Invite children to draw a person, place, food, or activity they appreciate on each feather. Early writers can add a word with adult help. After cutting, glue the feathers behind the turkey body on construction paper to make a keepsake for a family gathering or classroom display.
How to Print the Pages Cleanly?
Use the download link directly beneath the image you want. It opens the original lossless WebP file, which is the best version for printing; the smaller previews in the article are only for quicker screen display. Each finished file is 1700 by 2200 pixels in US Letter proportions. Save the file, open it in an image viewer or browser, and select US Letter paper in portrait orientation.
For most home printers, choose “fit to printable area” or a similar setting so the outer lines stay inside your printer’s margins. If your printer can print the entire page at actual size, check its preview before starting a class set. Print one test copy first, especially if you plan to photocopy it. Plain white copy paper is fine for coloring and tracing; lightweight cardstock makes sturdier cutouts for repeated play or a display.
The pages use mostly white space with bold black outlines. If you want to save colored ink, select grayscale for the page with the colored body and feathers. Set out blunt-tip child scissors, crayons or colored pencils, glue sticks, and a few sheets of construction paper. An adult can cut the tiny beak and wattle in advance while children handle the large body and feathers.
How to Use Turkey Templates and Cutouts for Kindergarten?
For a 20-minute art center, start with the whole-turkey stencil. Ask children to give each feather a different pattern, then compare the repeating lines they made. If the group is ready for more cutting, use the separate-pieces page. Place the six feathers in a fan first, glue their narrow ends to a background sheet, and add the body on top. Let children choose the order of the colored and blank feathers.
For a fine motor warm-up, hand out the feather tracing sheet before scissors come out. Encourage children to move slowly from the top of each dashed path to the bottom. There is no need to finish all eight in one sitting. Once the paths are traced, cut out a few feathers and arrange them in an alternating line pattern. Ask which path felt easiest to follow and why.
The gratitude version works well during a Thanksgiving conversation, but it is useful at any point in the fall. Children can draw answers if writing feels too hard. Prompt them with concrete choices, such as a favorite game, someone who helps them, or a place they enjoy. Read each child’s drawings back to them, then assemble the turkey so their own ideas remain visible.
Keep a tray for loose pieces and write each child’s name on the back before cutting. That small step helps when several children are making the same craft together. You can also print one whole-turkey page as a sample of the completed shape without deciding how every child’s feathers should look.
More Turkey Craft Ideas
For another printable assembly activity, Crayola offers a Build Your Own Turkey coloring page. It is a separate color, cut, and assemble project that pairs naturally with this set.
PBS KIDS has a direct turkey finger puppet template PDF for an adult-led extension. Its felt-and-sewing instructions require more grown-up preparation than these paper pages, but children can help choose colors and trace the shapes. For more conversation prompts around the last page, see the PBS KIDS thankful turkey activity.
Start with whichever page fits your time and supplies. The whole bird is ready for quick coloring, the separate pieces make a hands-on craft, the feather sheet adds tracing practice, and the blank feathers turn the project into a personal Thanksgiving keepsake.