Fold and Assemble a 3D Paper Turkey (Free Template) gives you four ways to turn a printed page into a Thanksgiving decoration. Make a standing turkey with a broad fan tail, color an accordion-fold version, prepare turkey place cards, or write thankful thoughts on a bird’s feathers. Each design is a separate US Letter page with its own cutting and folding layout, so you can print only the activity you need.
Fold and Assemble a 3D Paper Turkey (Free Template)
Choose the Turkey That Fits Your Activity
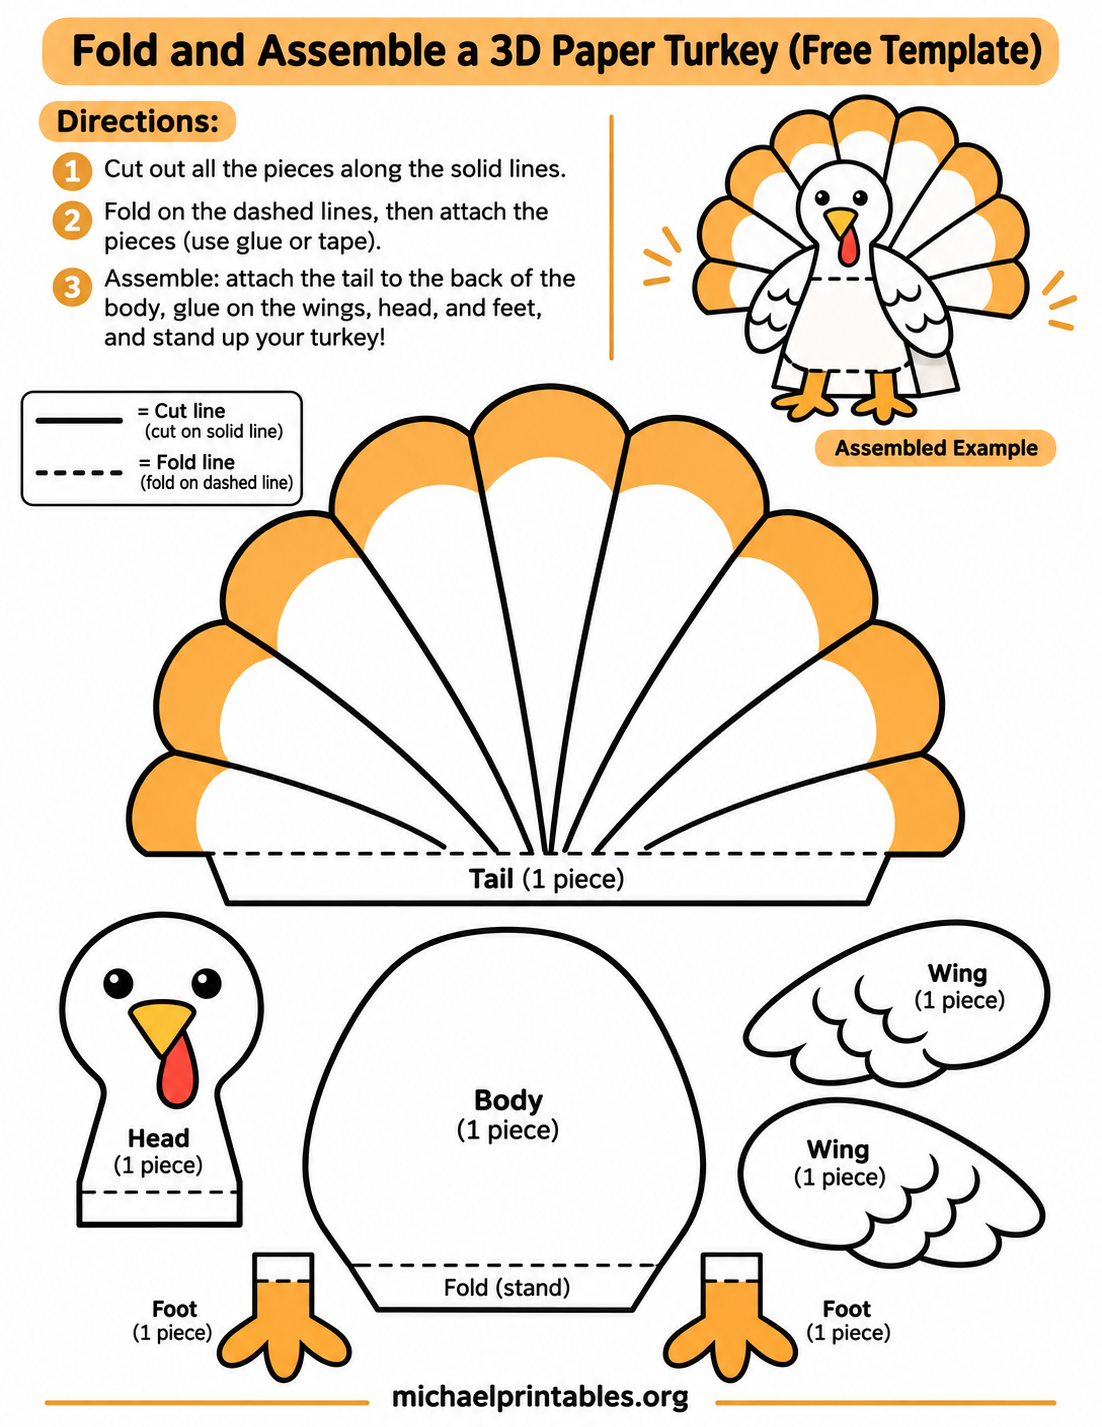
The standing fan turkey is the classic cut-and-assemble choice. Its page includes a large scalloped tail, a body with a marked stand fold, a separate head, two wings, and two feet. A small assembled example shows where the pieces belong. Use this version when you want a colorful decoration for a shelf, classroom display, or Thanksgiving table without spending time coloring every part first.
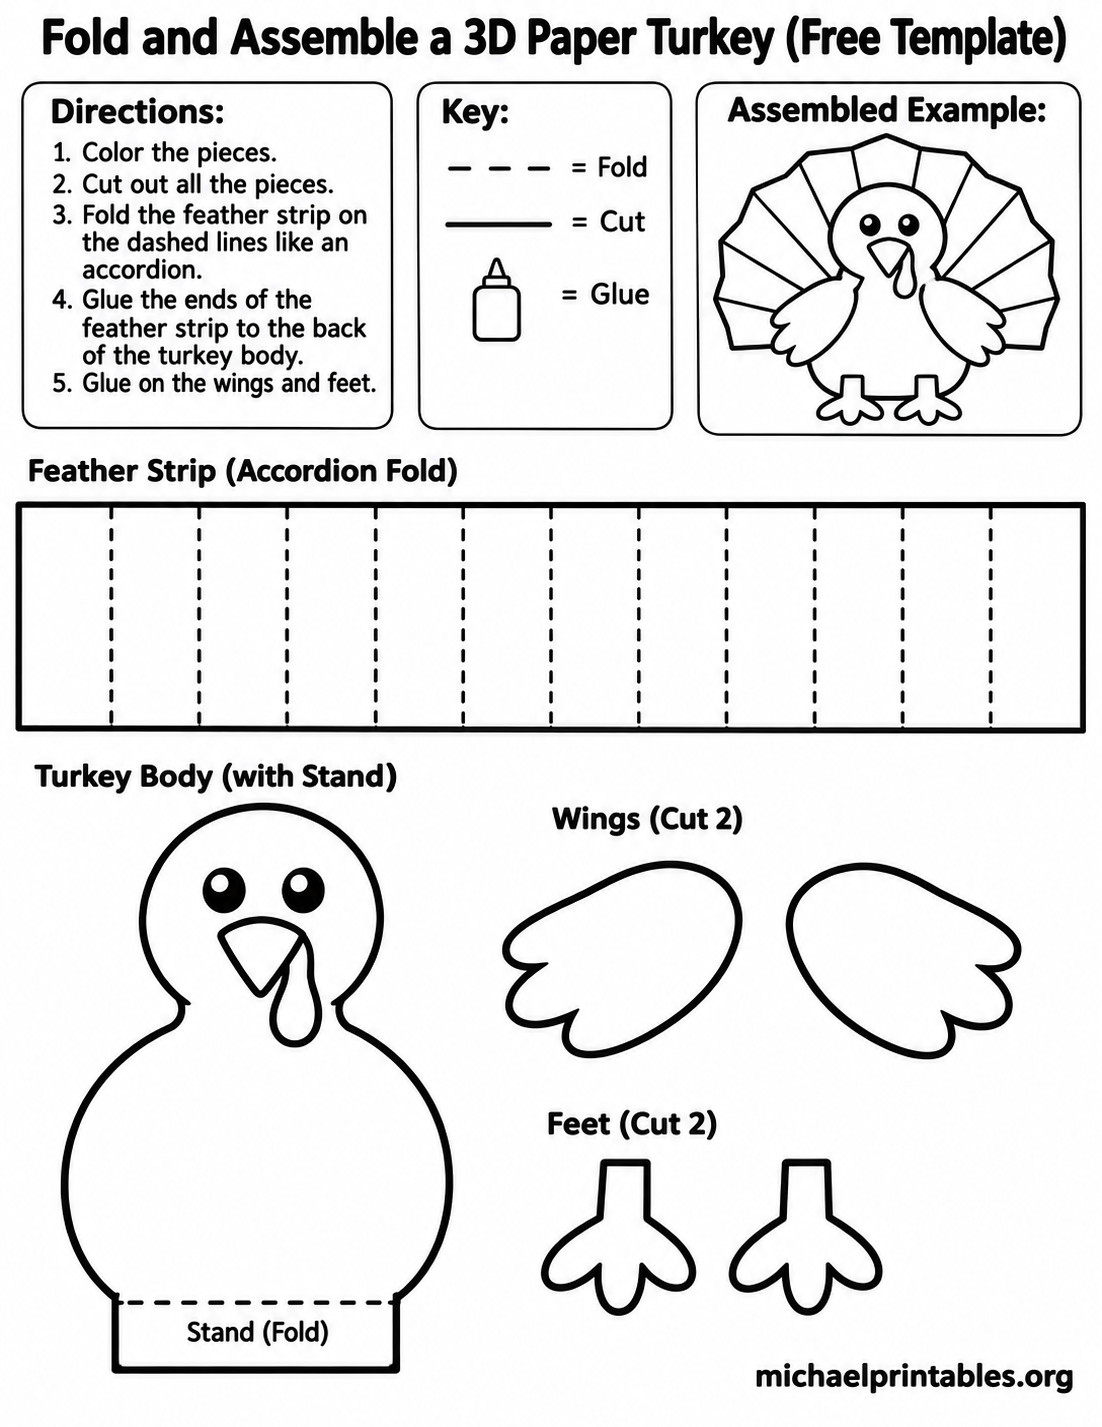
The accordion-tail page leaves its shapes mostly white for coloring. Its long feather strip has dashed vertical guides: fold back and forth along those guides to make a pleated tail. The page also has a turkey body with a stand, separate wings and feet, a cut-and-fold key, and an assembled example. Color the strip before folding it so the crayons or markers can reach every panel easily.
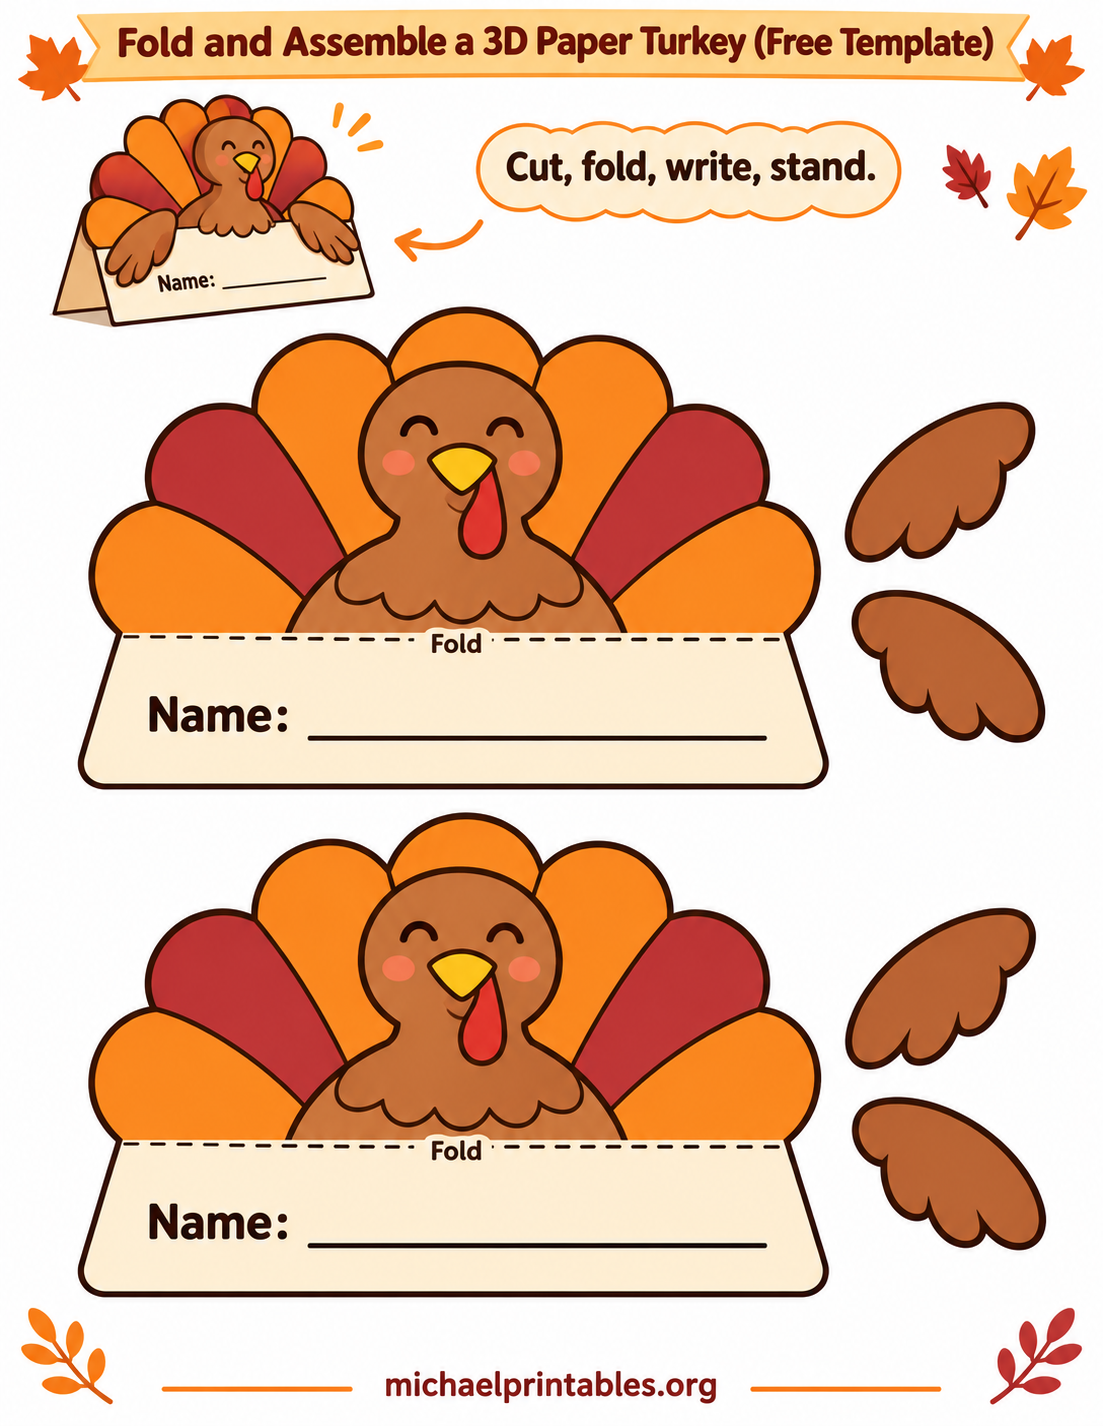
The place-card sheet has two large turkey cutouts, each with a blank “Name:” line and a marked fold across its base. Write each guest’s name before cutting out the shape; it is much easier to write while the paper is flat. The separate wings can be attached after folding. Print additional copies for a larger table, or leave a few name lines blank until you know the final seating arrangement.
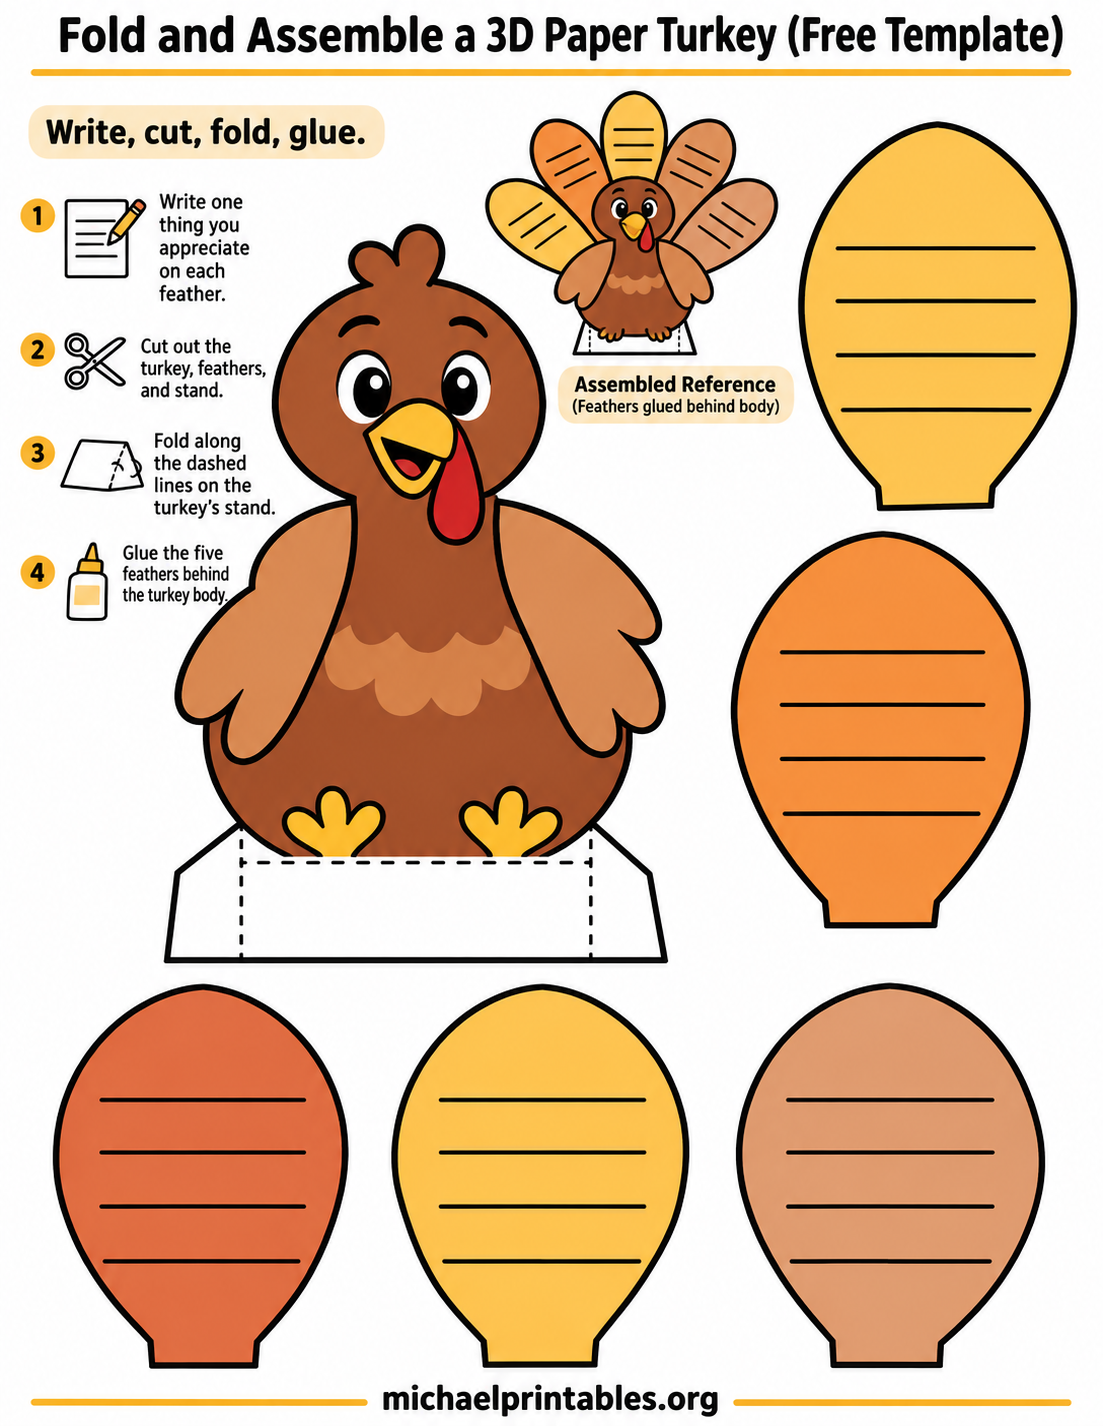
The gratitude turkey turns the craft into a writing activity. Five broad, colored feathers each have lines for a short message, and the body includes a foldable stand. Have each person write something they appreciate on a feather, then glue the feathers behind the turkey. The assembled reference on the page helps you arrange the feathers into a visible fan.
How to Print and Assemble the 3D Paper Turkey?
Download the original WebP from the caption beneath your chosen design. Print it on US Letter paper at “Actual size” or 100% scale. In the print dialog, check the preview to make sure the title, every cutout, and the small footer are on the page. Turn off any option that stretches the image to fill the sheet or crops its edges. A regular home printer and standard letter paper are enough for a practice copy.
For a sturdier turkey, use white cardstock that your printer supports. If you only have ordinary copy paper, glue the printed page to lightweight cardstock or a recycled cereal box before cutting. Let the glue dry flat first. Keep the colored side facing outward, and use a glue stick or small pieces of tape for the attachments. Younger crafters may appreciate help with the narrower areas around the feet and beak.
Cut around the outside edges of the pieces, following the solid outlines. Fold where the page shows dashed lines. Before gluing, lightly crease each stand and check how the turkey balances. Put glue on the back of the body where the tail or feathers will attach; then add the head, wings, and feet as shown in the small example. Hold the pieces in place briefly and let the adhesive dry before standing the bird upright.
For the accordion version, fold the feather strip one panel forward and the next panel backward until the whole strip forms even pleats. Gently fan it out and secure its ends behind the body. If the pleats spring open, press them under a book for a few minutes before assembly. This creates a tail with more depth than a flat cutout while keeping the steps simple.
Thanksgiving Table and Classroom Ideas
Make the place cards a family activity before dinner. Children can write names, attach wings, and help set the table. A heavier sheet makes the folded bases easier to display. If a card needs extra support, place a small folded scrap of cardstock behind it. Keep decorations away from candles, hot serving dishes, and drinks that could soak the paper.
In a classroom, let students choose between the coloring sheet and the gratitude feathers. The black-and-white version invites different color patterns without requiring extra colored ink. The gratitude page adds a quick writing prompt: one person, place, activity, or small moment per feather. Display the finished turkeys together so each one has a different tail and message.
For another printable activity, the University of Illinois Extension offers a Thanksgiving activity book PDF with a hand-traced turkey activity. Crayola also has a cut-and-color standing turkey craft if you want another way to practice adding a paper stand.
After the holiday, store assembled birds in a shallow box so their tails do not flatten. You can also keep one uncut printed copy with your craft supplies as an assembly reference. Next time, print a fresh page, choose a different tail style, and make a new turkey for the table.