Free Paper Turkey Cutouts and Craft Templates make it easy to set up a hands-on Thanksgiving activity with a printer, crayons, scissors, and glue. These four original pages cover different needs: a classic cut-and-assemble turkey, a sheet of patterned feathers, a gratitude turkey, and foldable place cards. Download the full-size WebP from the caption under each picture, print the pages you need on US Letter paper, and let the coloring and crafting begin.
Free Paper Turkey Cutouts and Craft Templates
What Is on Each Printable Page?
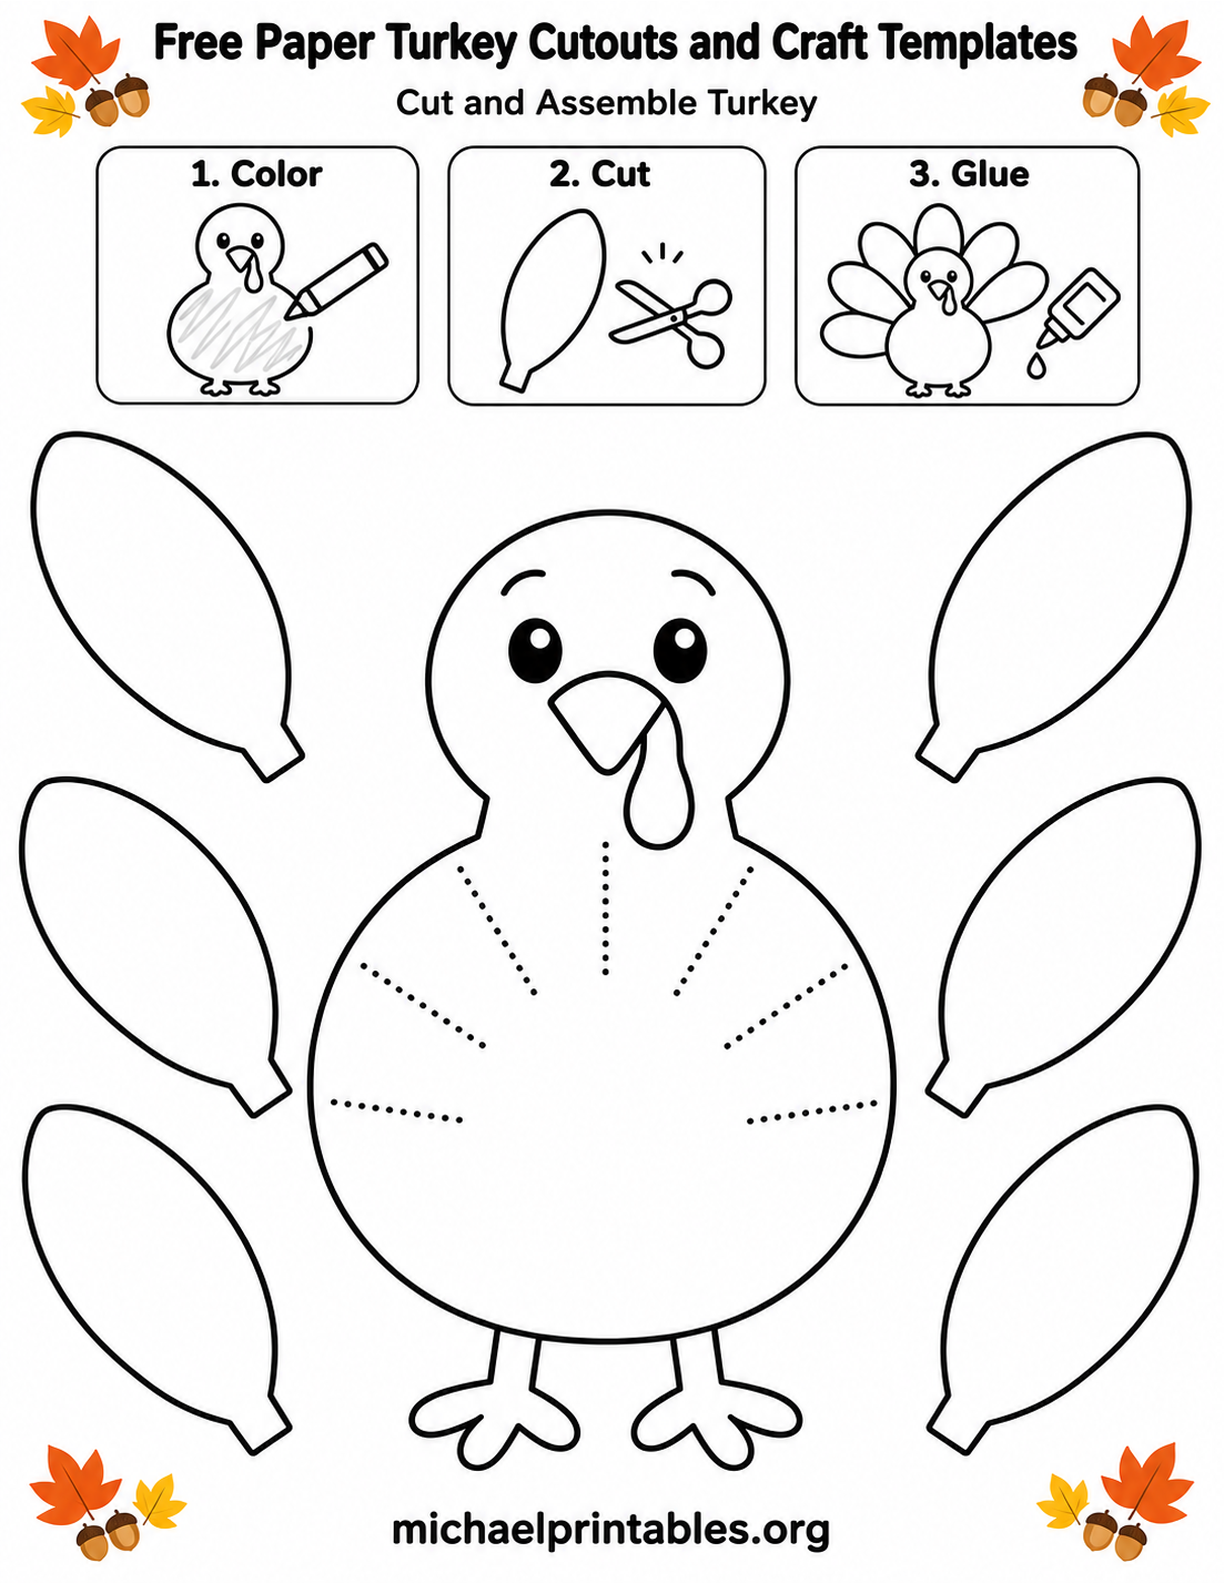
The first page is the easiest starting point for a familiar paper turkey. It has a large, friendly turkey body with a face and feet, plus six separate, plain feathers. A small three-panel guide across the top shows the color, cut, and glue sequence. Children can choose their own colors, cut the feather outlines, and attach the feathers behind the body. The dotted marks on the body offer a simple placement guide.
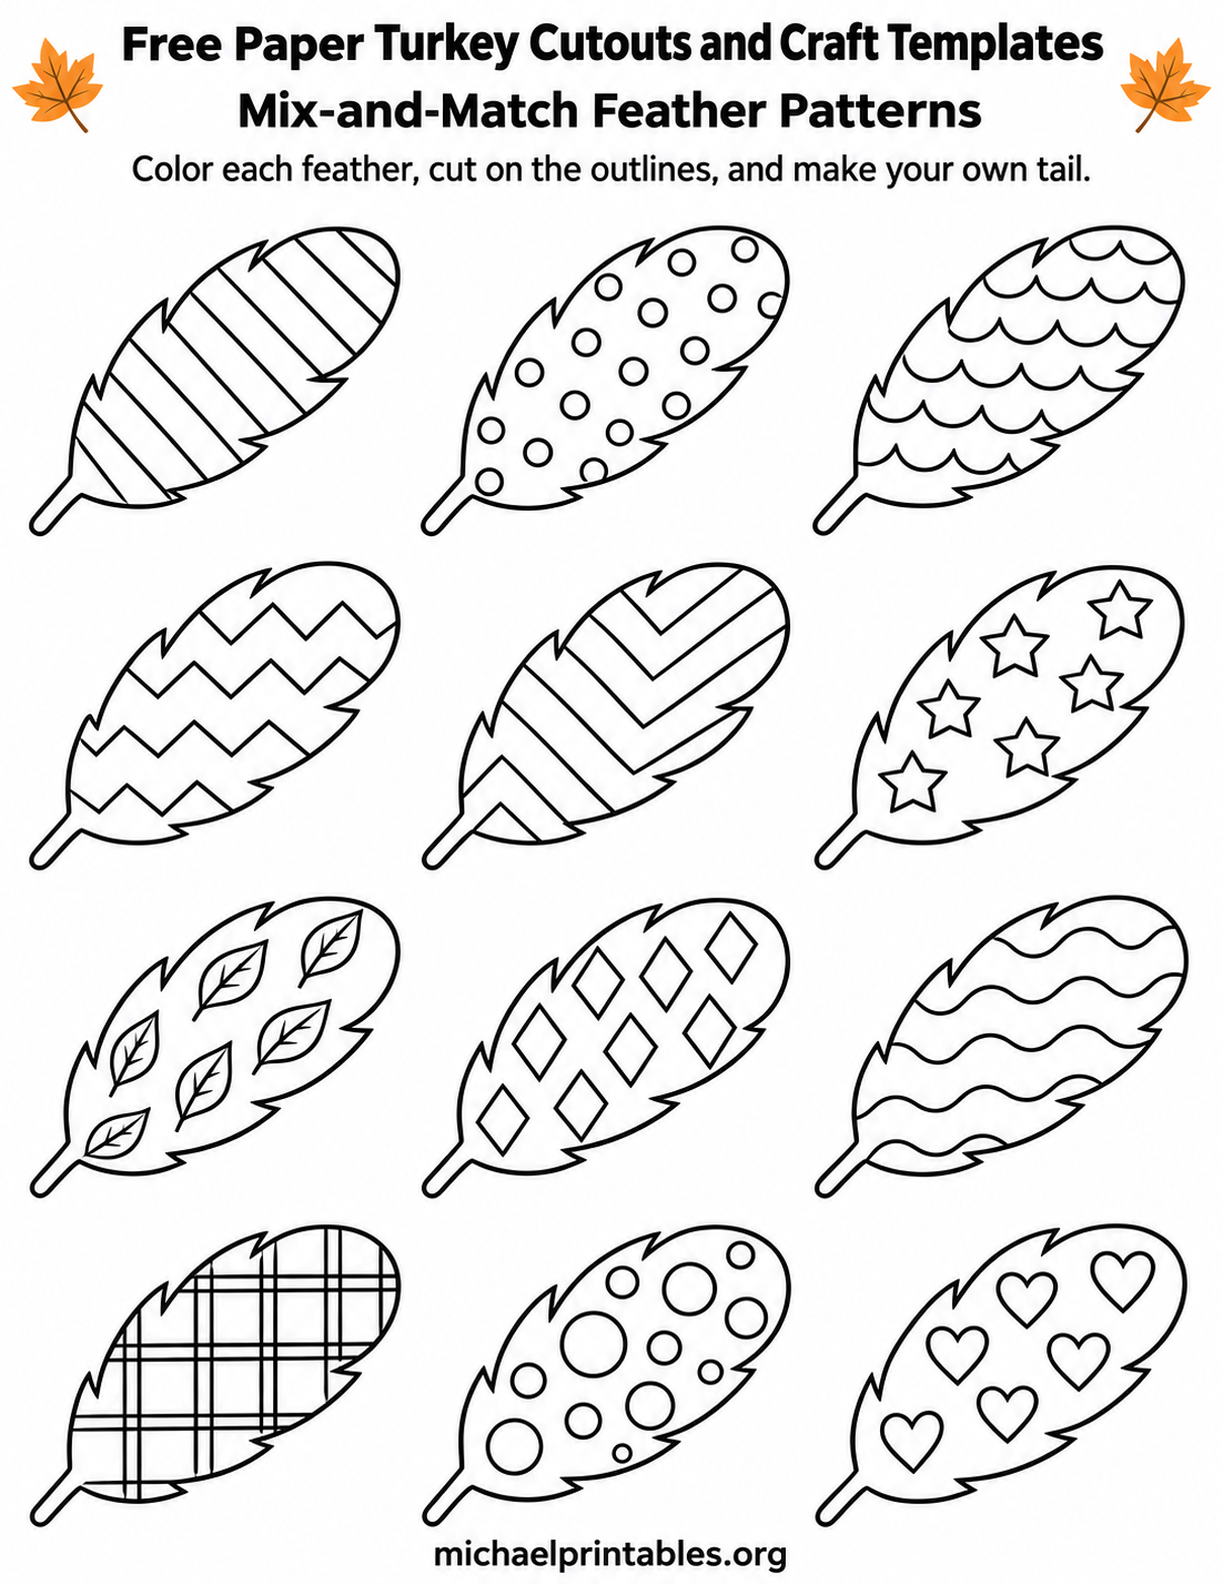
The second page puts the feathers in the spotlight. Twelve separate shapes fill a neat three-column grid. Their patterns include stripes, dots, scallops, zigzags, chevrons, stars, leaves, diamonds, waves, plaid, circles, and hearts. Color a whole row in one palette for a coordinated tail, or let everyone pick a different combination. The shapes can also decorate a classroom bulletin board, a paper garland, or a handmade Thanksgiving card.
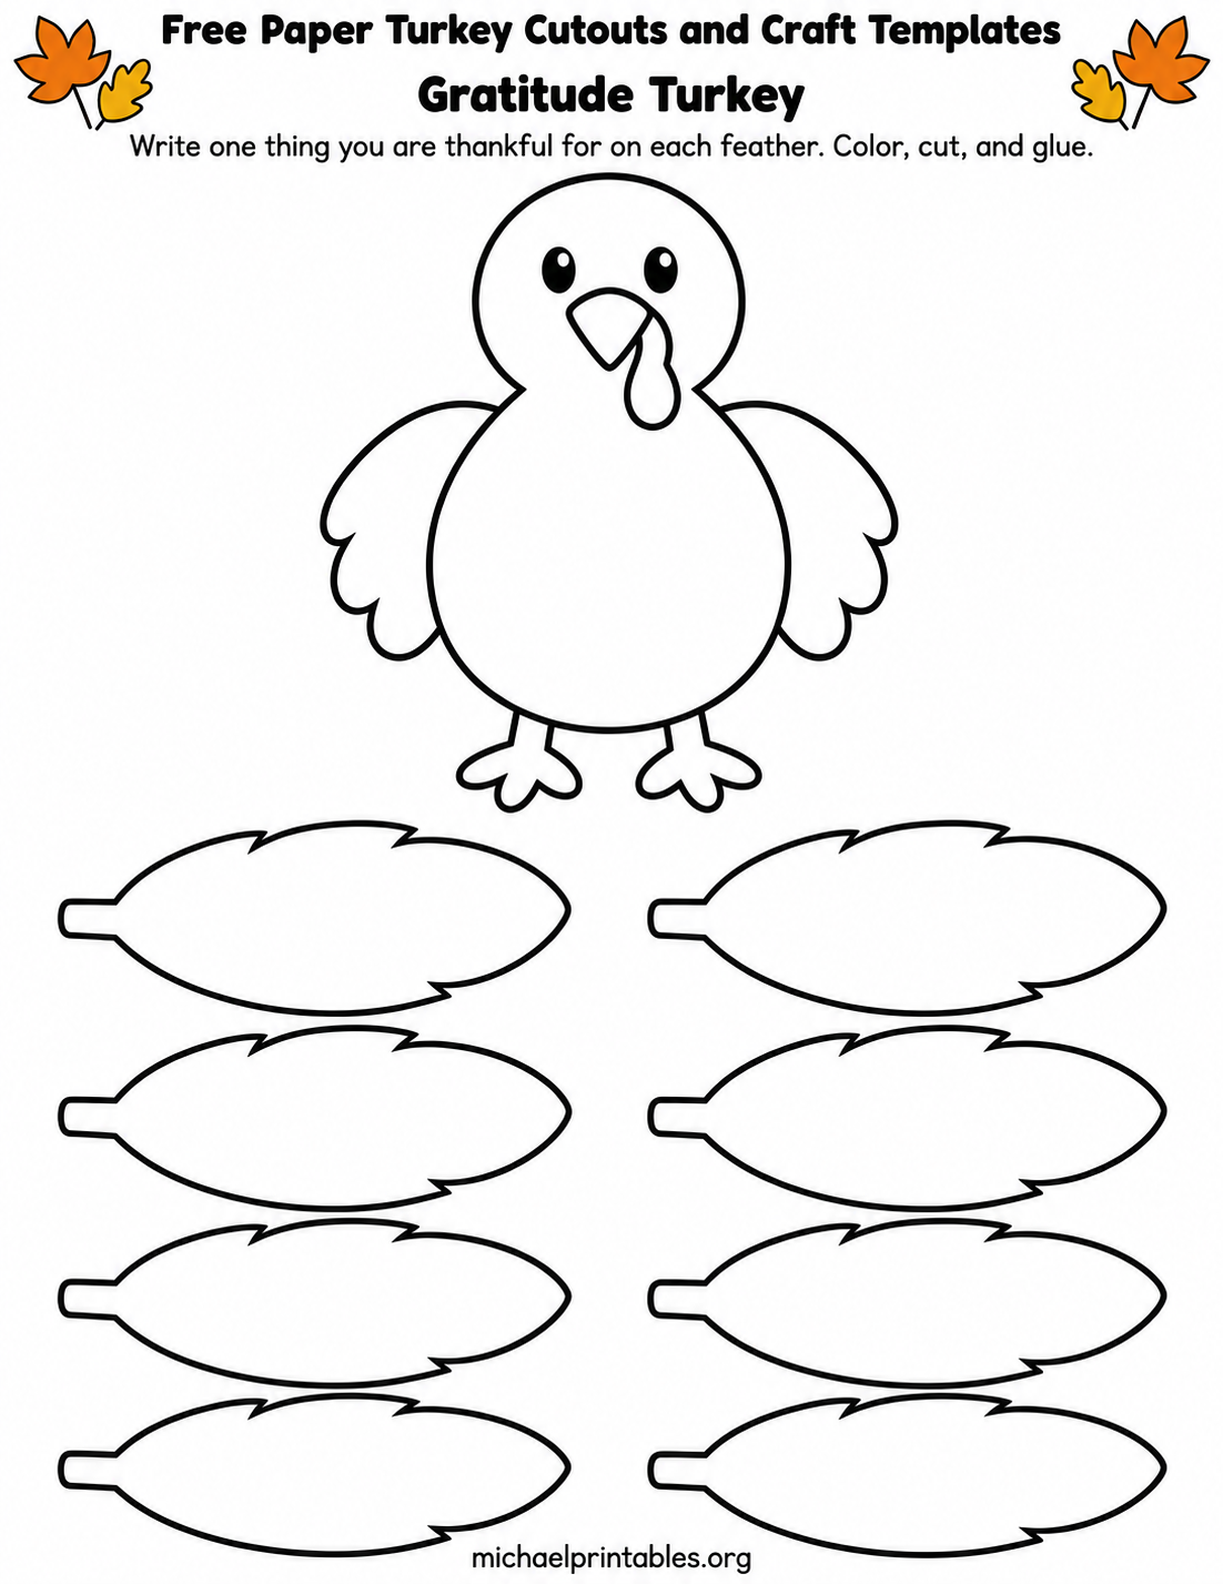
The third page turns the project into a conversation about gratitude. It includes a turkey body and eight large blank feathers with space to write a short note on each one. Ask children to name people, places, activities, or everyday comforts they appreciate. They can write first, add color next, and glue the feathers behind the body after cutting. For a group project, invite each person to contribute one feather.
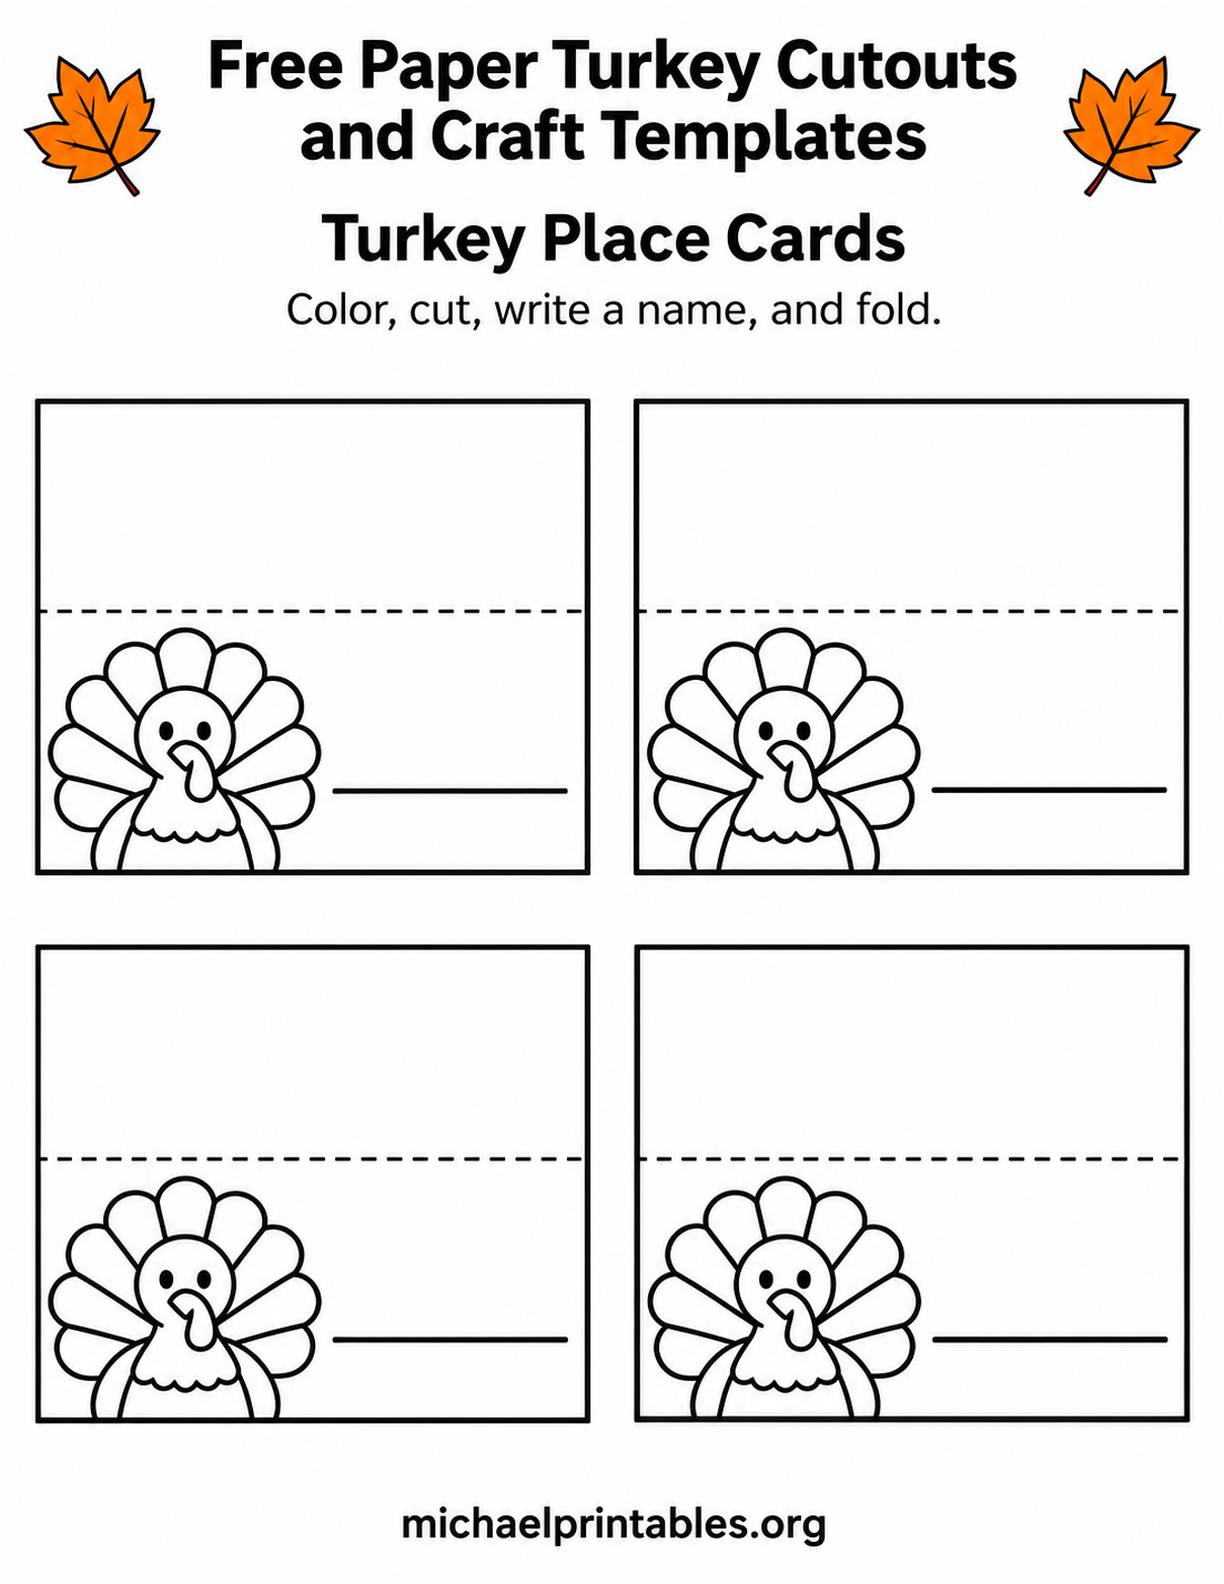
The fourth page makes table decorations. It has four rectangular turkey place cards, each with a coloring outline, a line for a guest name, and a dashed fold line. Print one copy for every four seats. Color before cutting, write names clearly, cut along the outside edges, and fold at the dashed lines so each card stands on the table. The blank upper half becomes the back of the tent card.
How to Print and Prepare the Cutouts?
Choose the download link below the page you want so your browser saves the original full-size file. Open the downloaded WebP in an image viewer or print it from your browser. Select US Letter paper (8.5 by 11 inches), portrait orientation, and “fit to printable area” if your printer clips the edges at actual size. Avoid a “fill page” setting that crops the title or the small site watermark.
Regular copy paper works for coloring and quick practice. For sturdier pieces, use light cardstock if your printer supports it. You can also print on copy paper, then glue the pieces to construction paper or an empty cereal box before the final cut. Test one sheet first if you are preparing a large batch for a classroom or holiday gathering.
Set out crayons, colored pencils, or markers, child-safe scissors, a glue stick, and a scrap sheet to protect the table. Markers may show through thin paper, so place scrap paper beneath the page. Color the pieces while the page is intact; little hands can hold a whole sheet more easily than small cutouts. An adult can handle tight curves or cut a starter slit where needed.
For the assemble page, cut around the six feathers and the turkey body. Arrange the feathers in a fan behind the body before using glue, then let the glue dry flat. For the patterned sheet, cut only the feathers you plan to use and save extras in an envelope. For the gratitude page, write on the feathers before attaching them so the words stay legible. For the place cards, cut out the rectangles and crease the dashed horizontal lines with a ruler for tidy folds.
Ideas for Free Paper Turkey Cutouts and Craft Templates
Mix the pages to extend the activity. The plain turkey body can take a few patterned feathers from page two in place of its plain ones. Give each child a different set of patterns and display the finished birds as a colorful flock. If you need more than six feathers, print an extra feather sheet and choose the shapes that fit your project.
For a family gratitude display, place the finished turkey on a door or bulletin board and invite guests to add their notes during the day. Younger children can draw a picture on a feather while an adult writes down their words. Older kids might choose one specific memory for each feather, which often makes the conversation more personal than a single general answer.
The place cards make a practical job for children while adults prepare the meal. Put a sample card on the table to show how the fold works, then let the kids color each turkey differently. Write guest names with a dark pen after coloring, leaving enough time for ink to dry. The cards can also label dishes on a buffet if you write food names on the lines.
If you want another printable activity, the University of Illinois Extension offers a Thanksgiving activity book PDF with a hand-tracing turkey page and other kids’ table activities. Crayola’s Turkey Craft page provides a different standing turkey project, and its Build Your Own Turkey page offers another color-and-assemble option.
Keep the finished cutouts in a folder or large envelope after Thanksgiving. A flat turkey and unused feathers can be reused for another craft session, while a completed place card makes a sweet reminder of who joined the table. Print a fresh page whenever you need a simple seasonal project without gathering special supplies.